

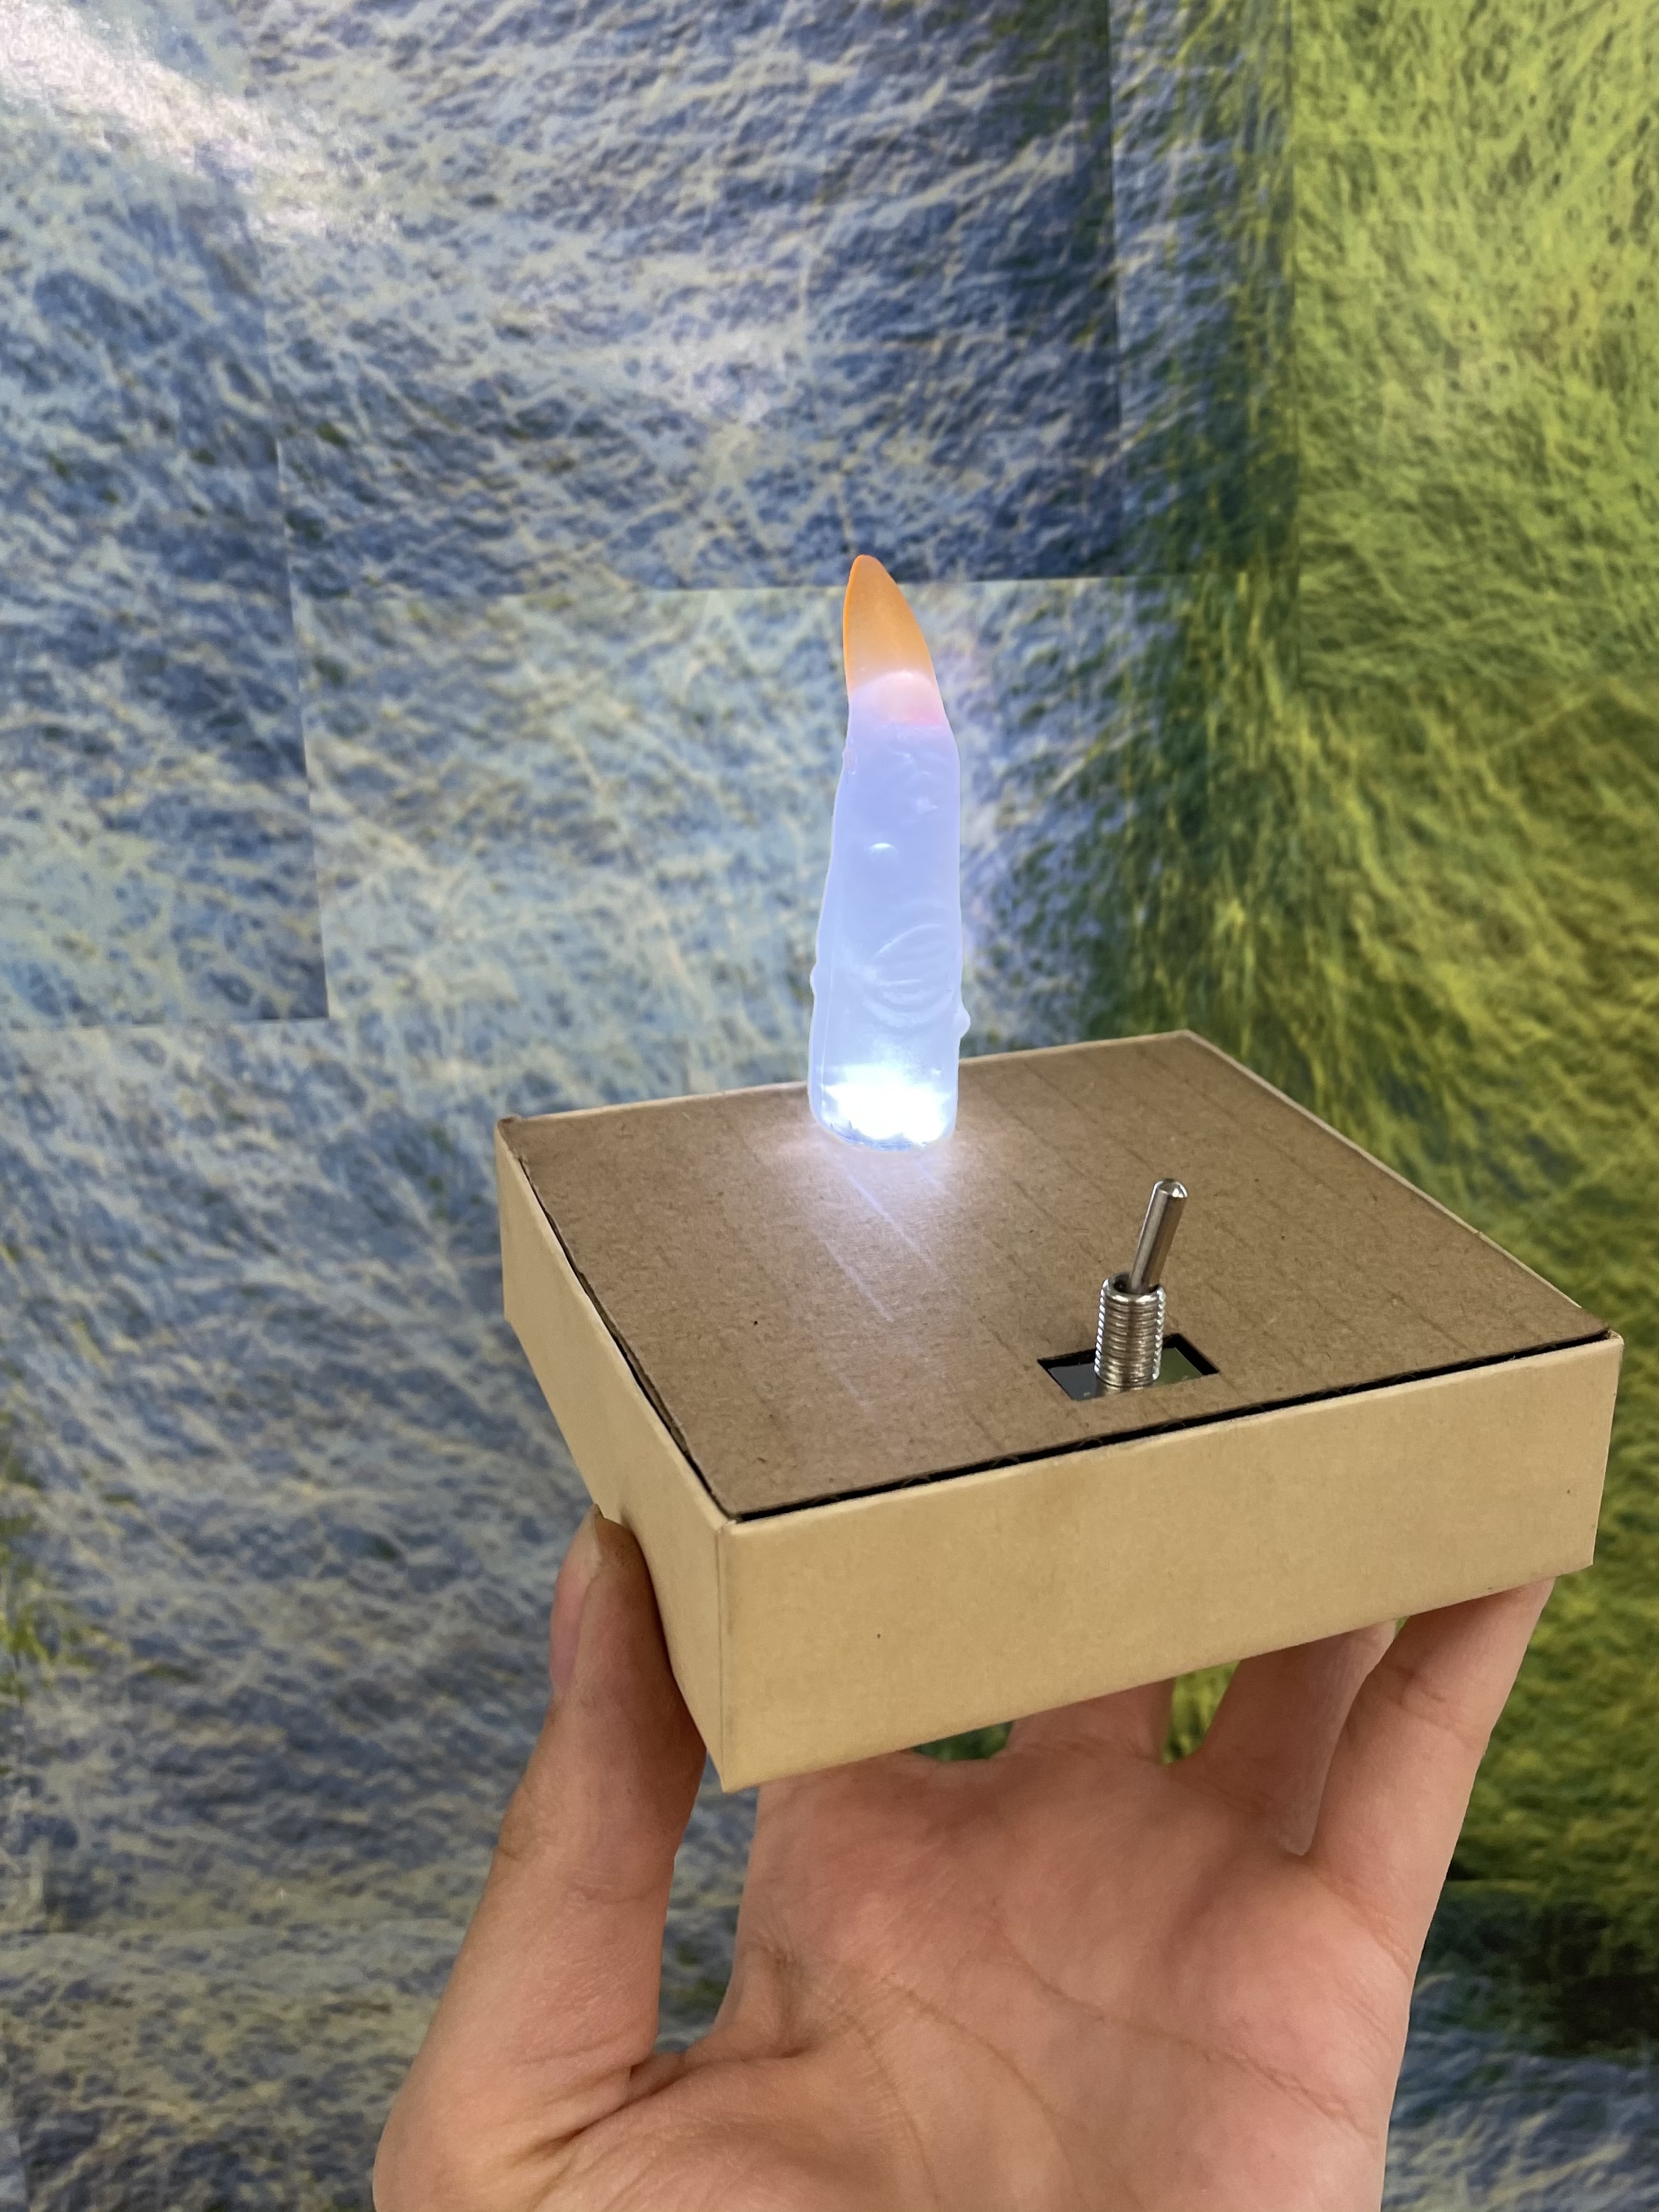

This week I made an enclosure for my flashlight from the first week and turned it into a little lamp. I started off by searching my room
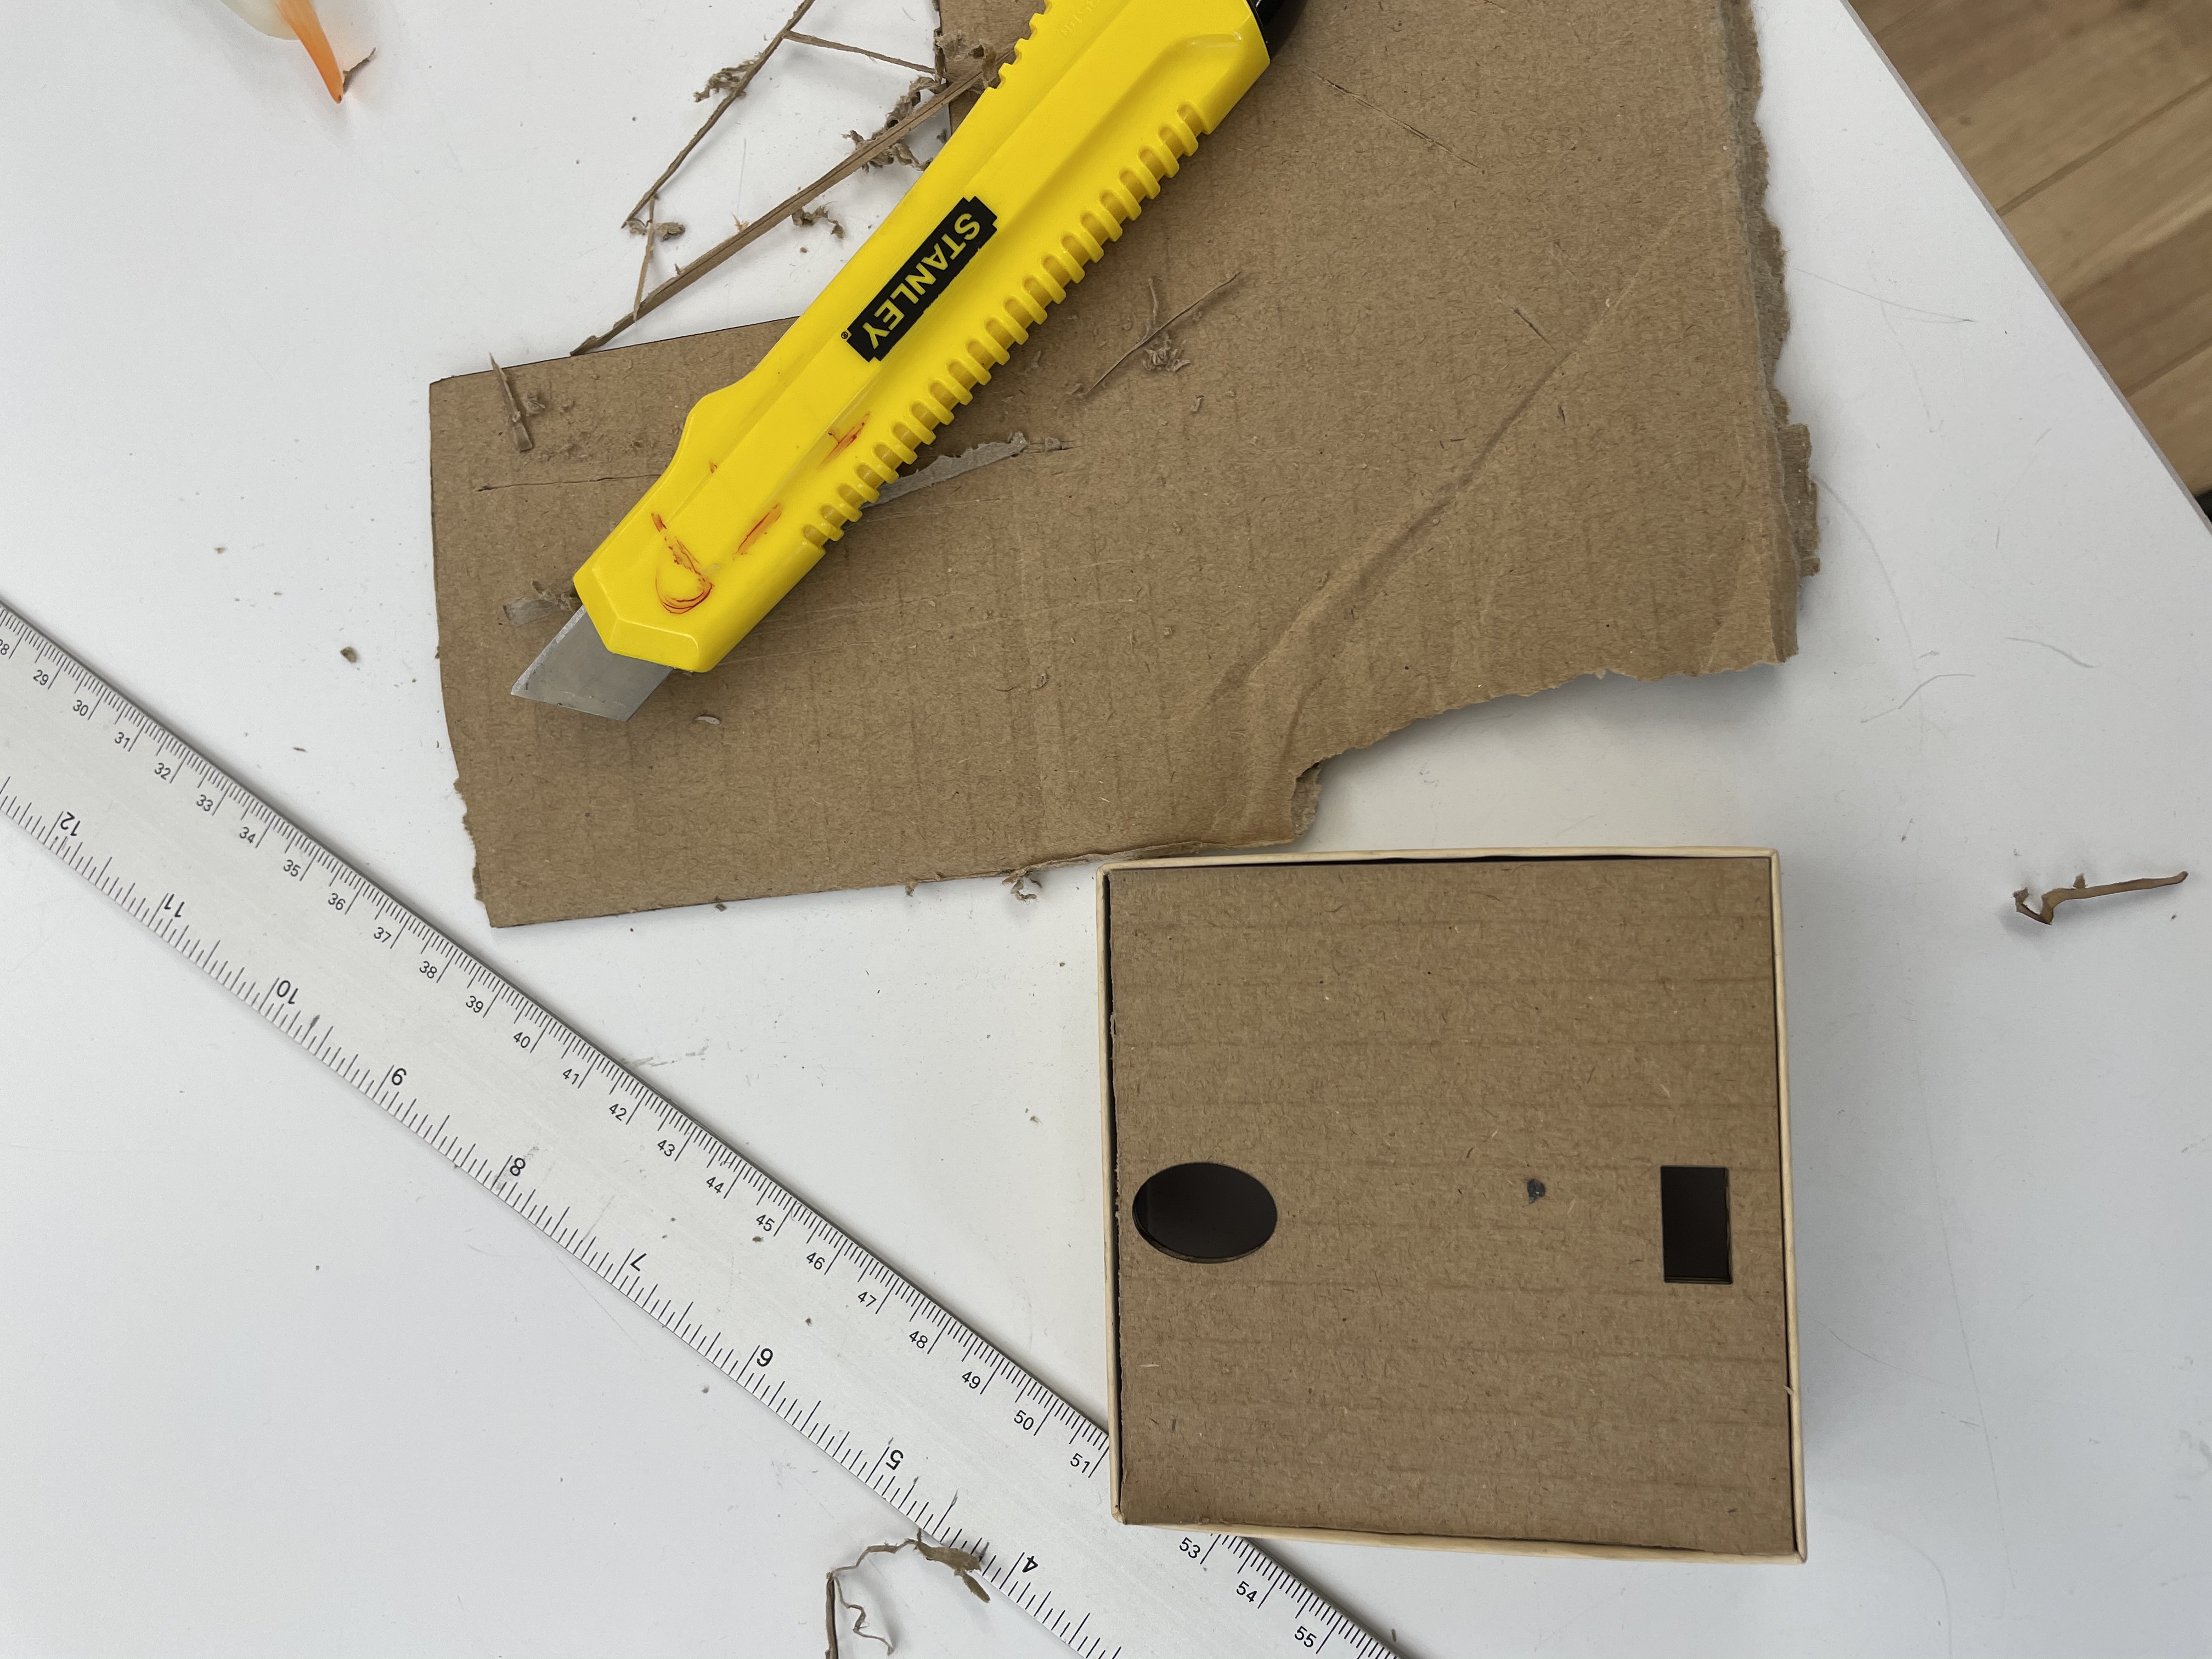
for a good enclosure. I found two jewlery boxes that seemed like a good fit. I wanted to laser cut the box, so I went with the plain
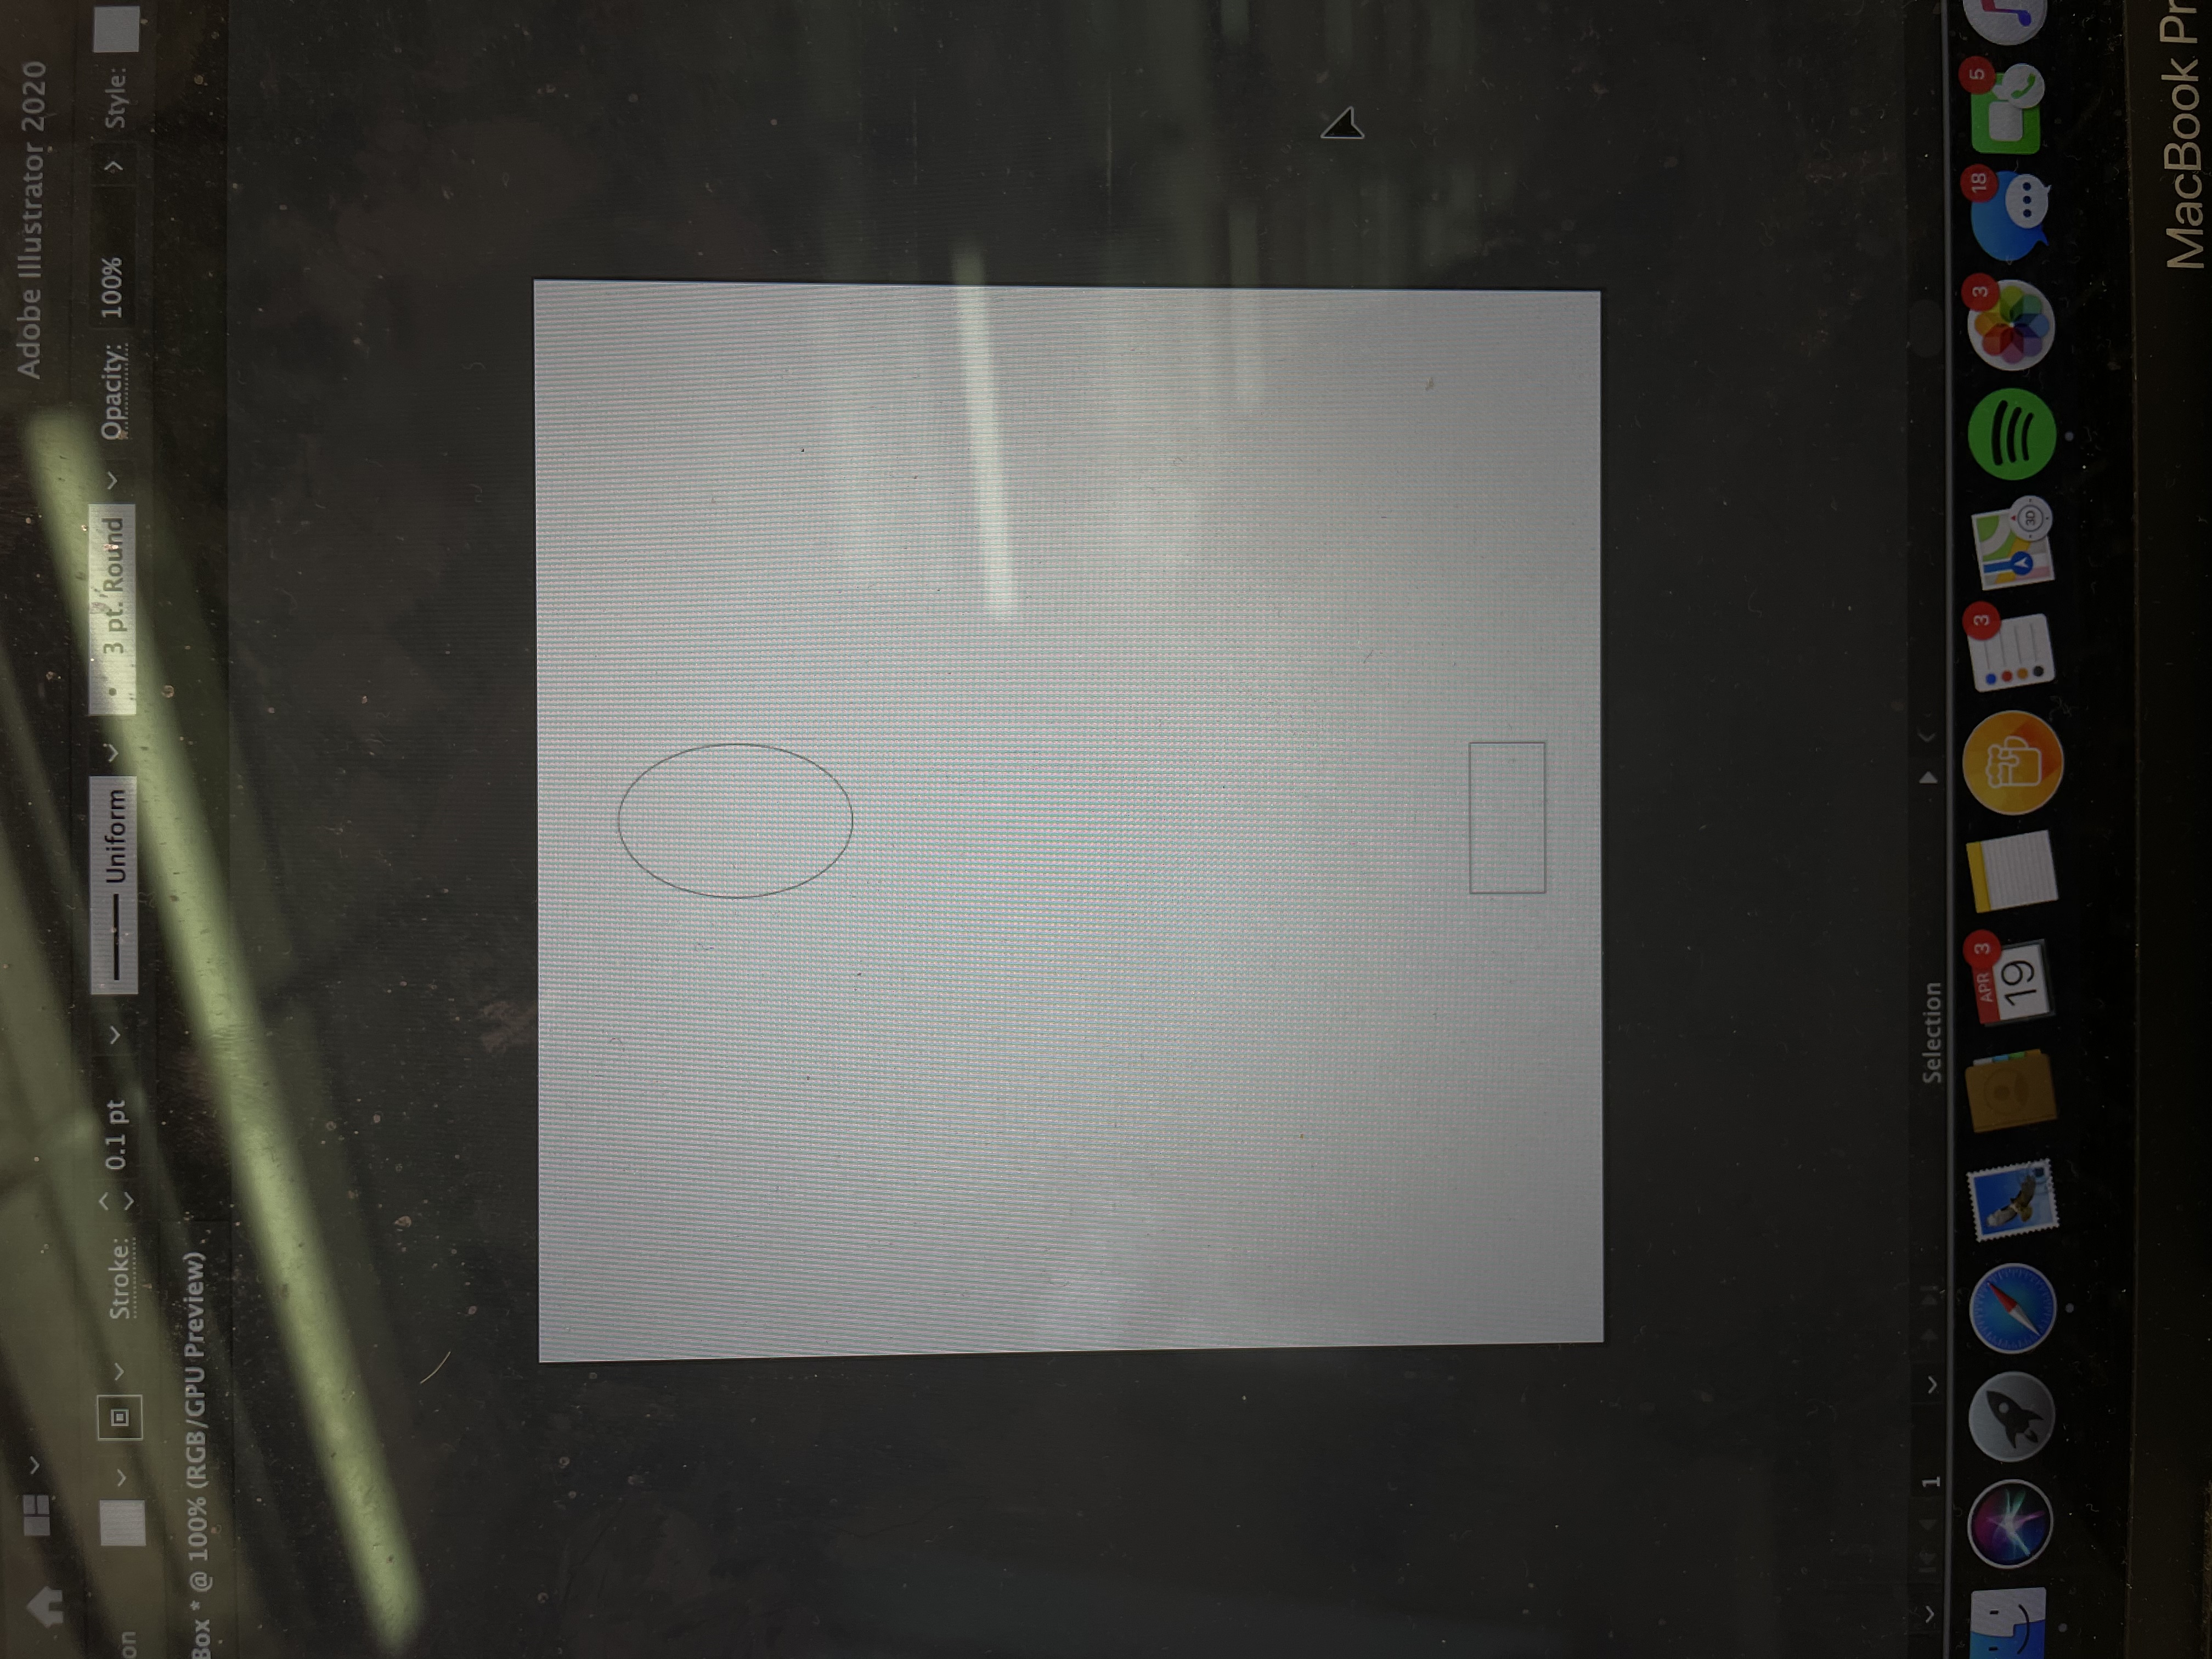
cardboard box in case the other one would burn. I measured the box, switch, and leds, so I could cut holes that would fit them perfectly.
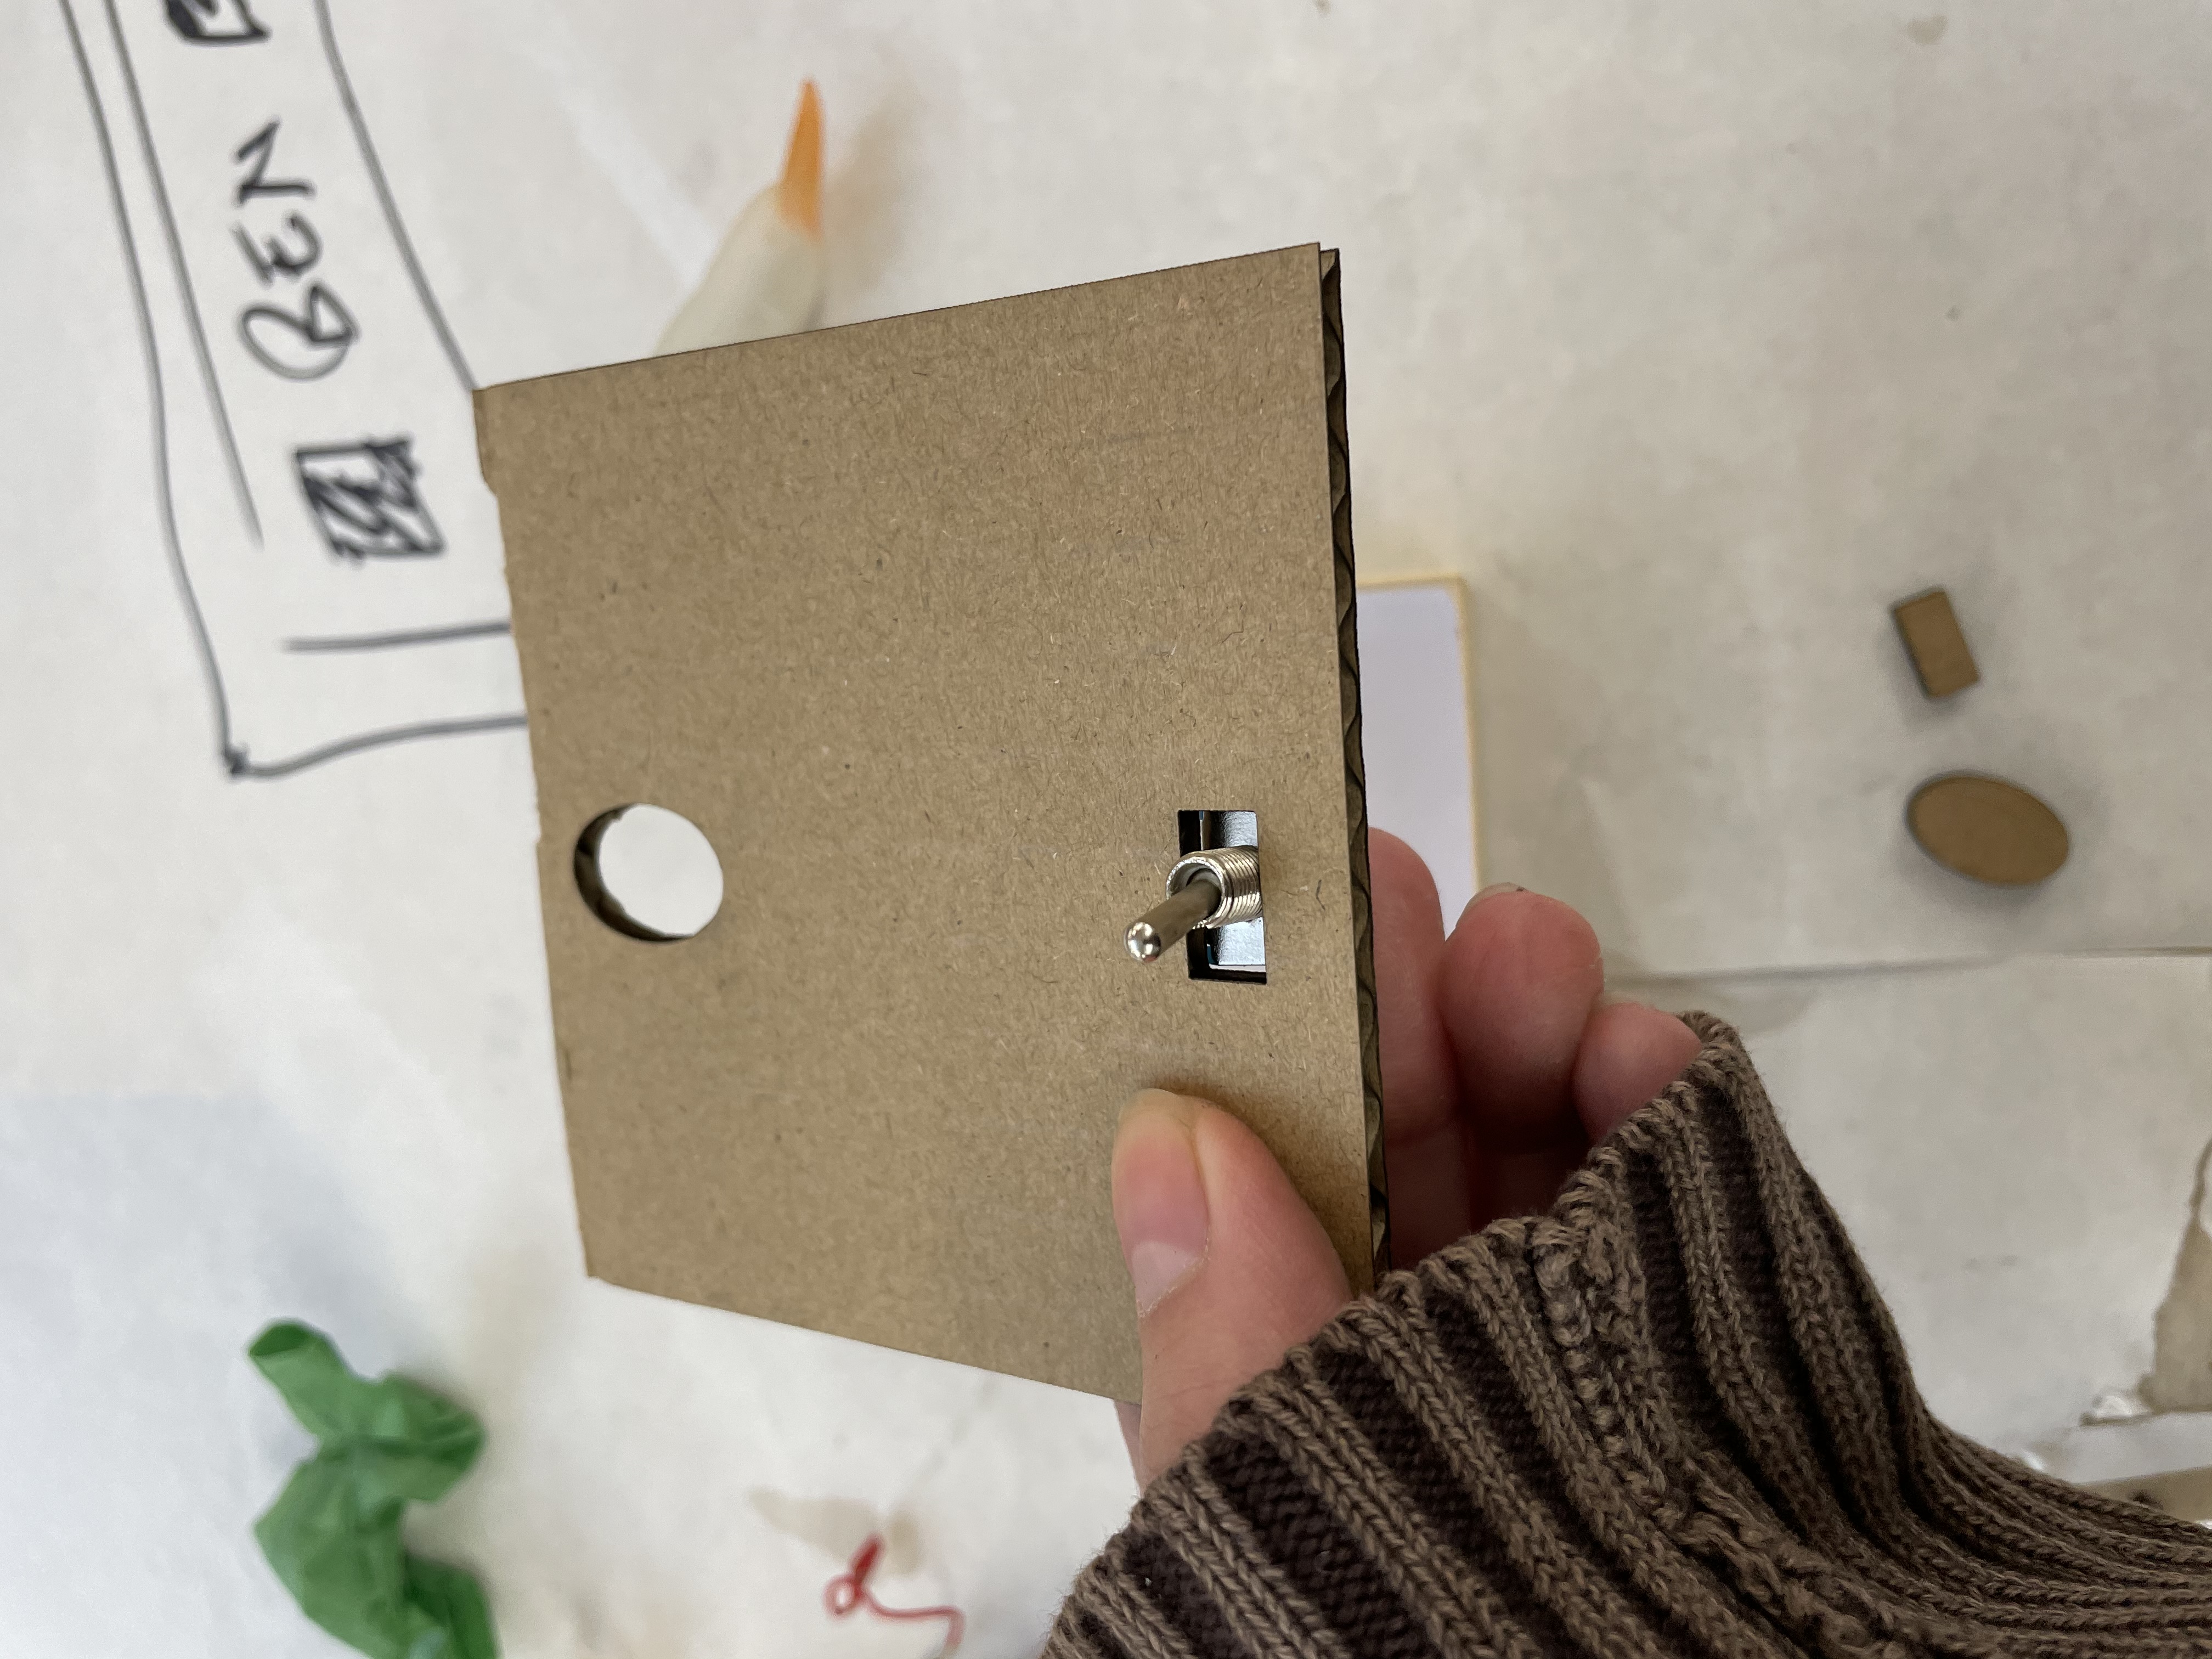
I went to the laser cutter and made a cardboard prototype first. On the first attempt, I made the hole for the switch too small. I adjusted
the sizing and my second prototype came out great. Then it was time, to do the same to the top of the box I wanted to use. I wanted to lower
the bed of the laser cutter, but neither me or the shop staff on duty knew how. She said that with autofocus the bed should lower on its own...
but it didn't and the cardboard got stuck! Then the laser cutter had to be shut off and no one could use it anymore. Lesson definitely learned!
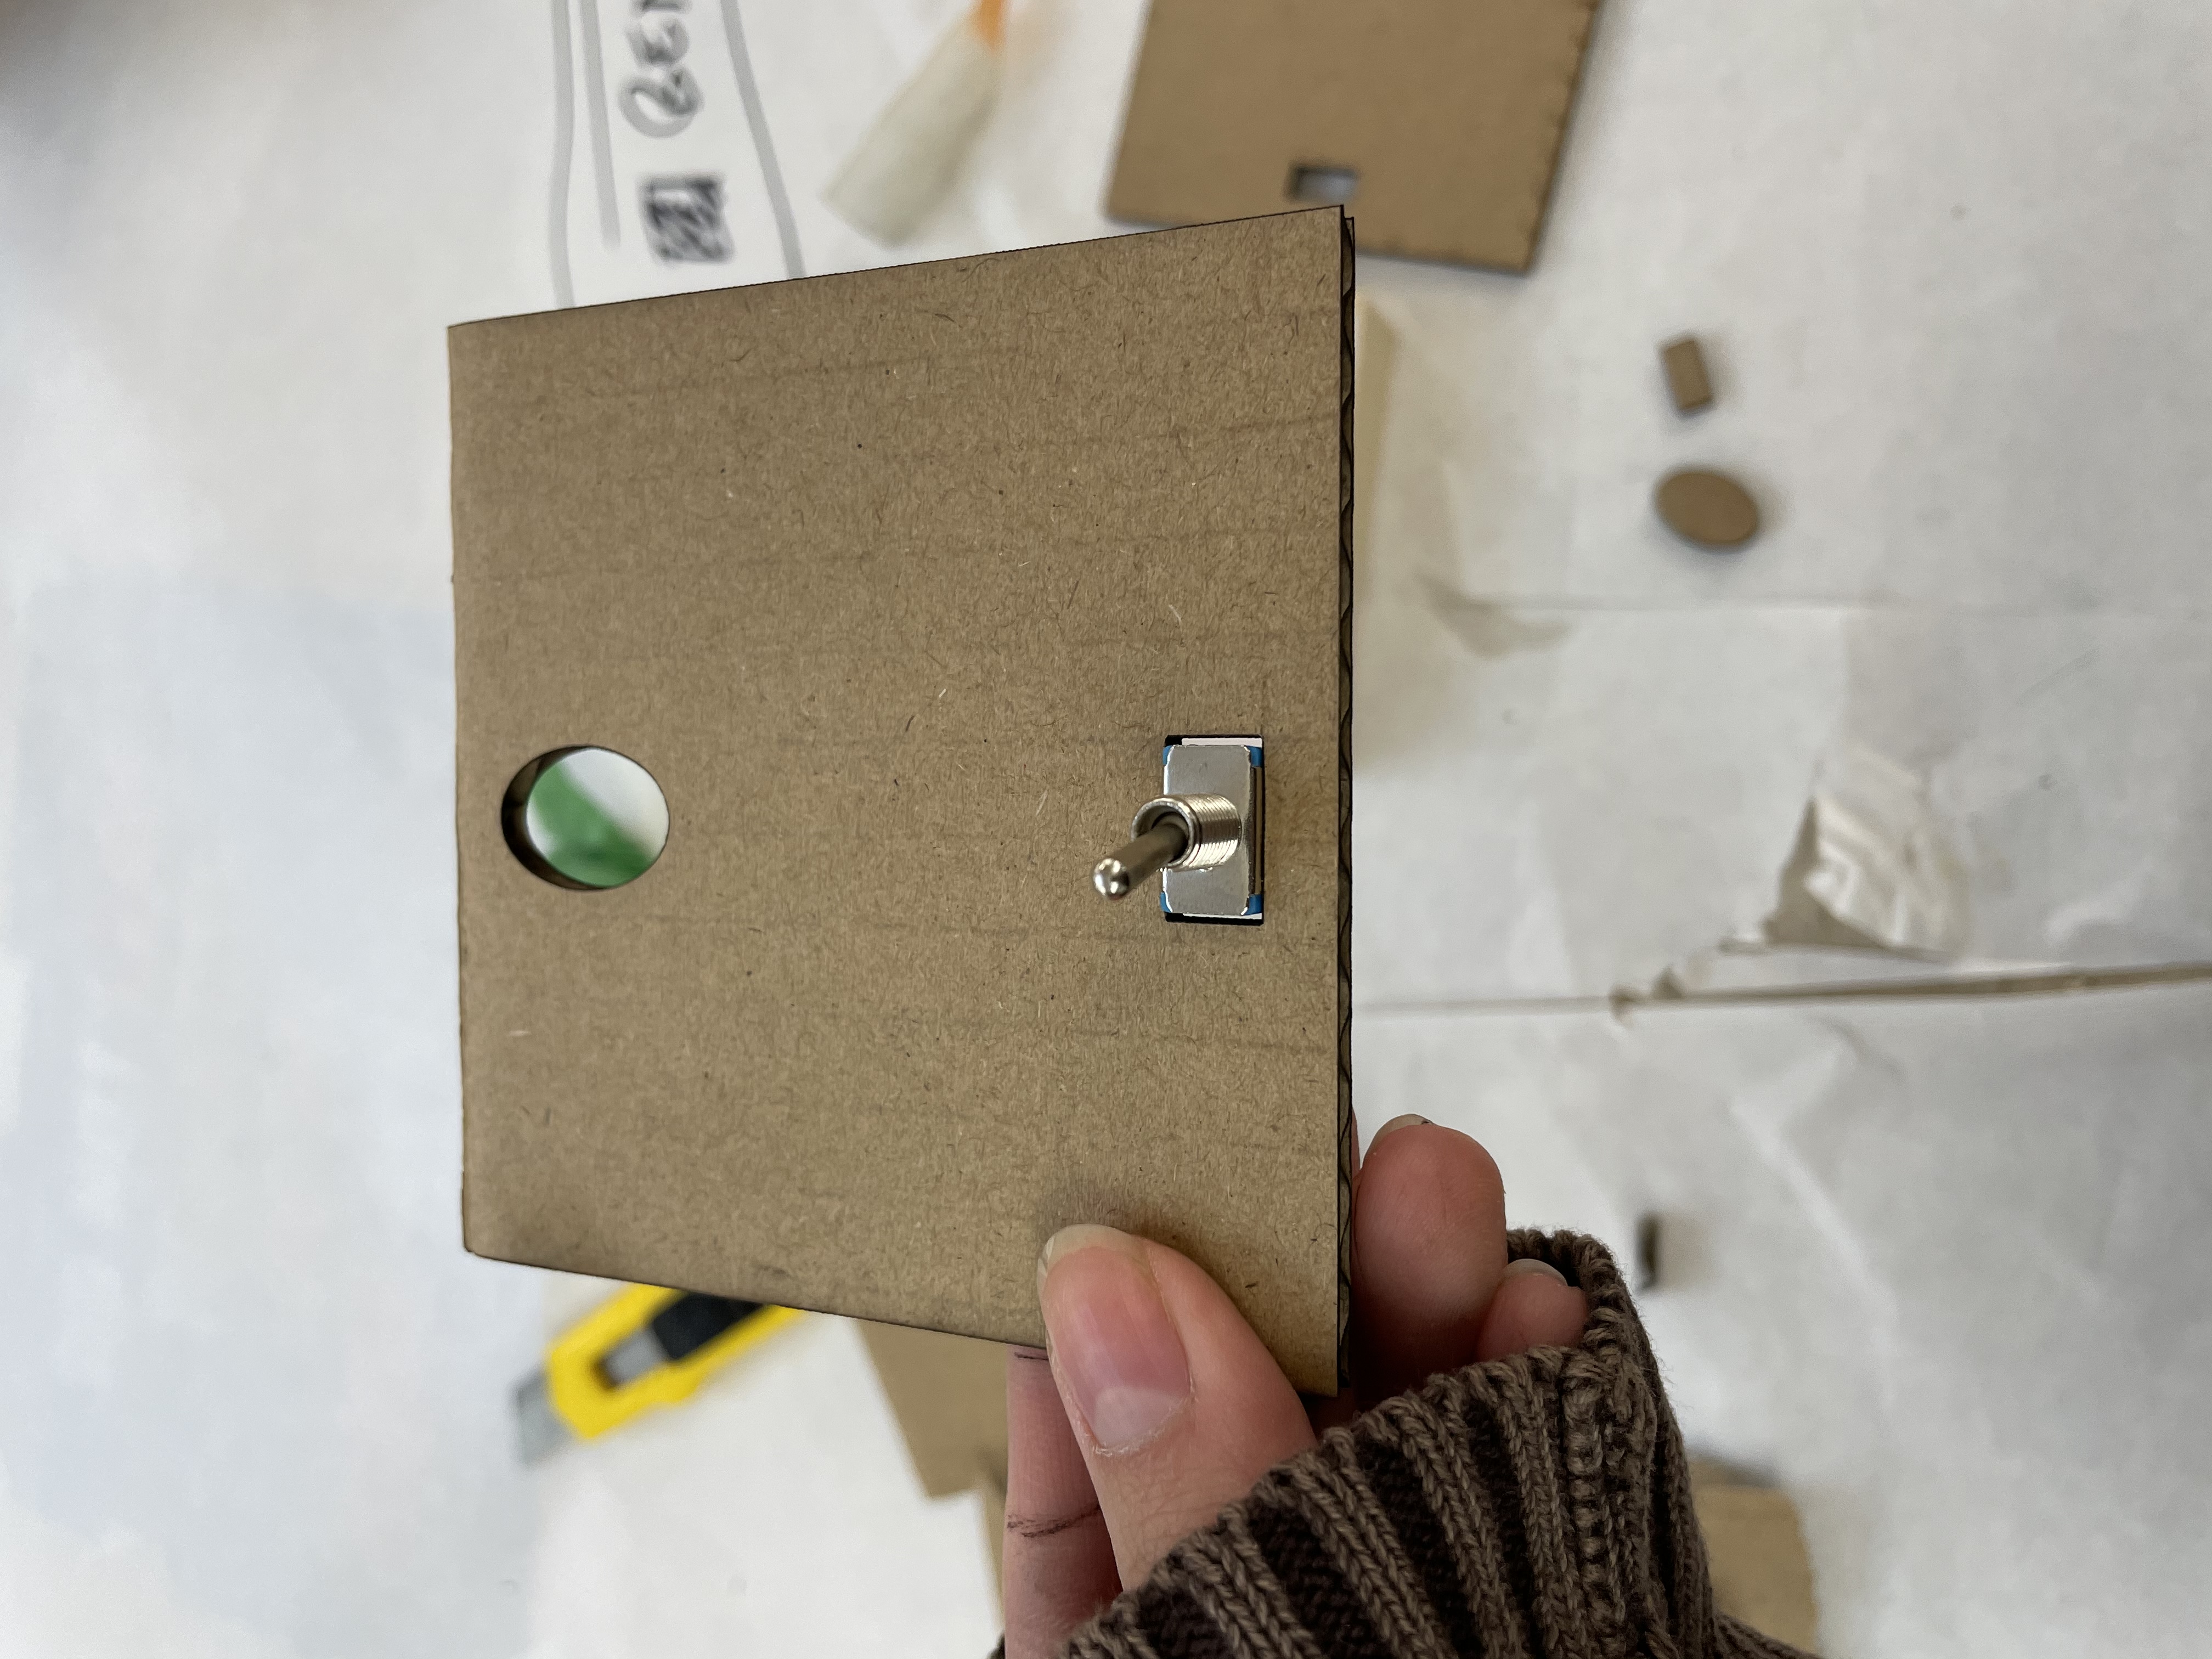
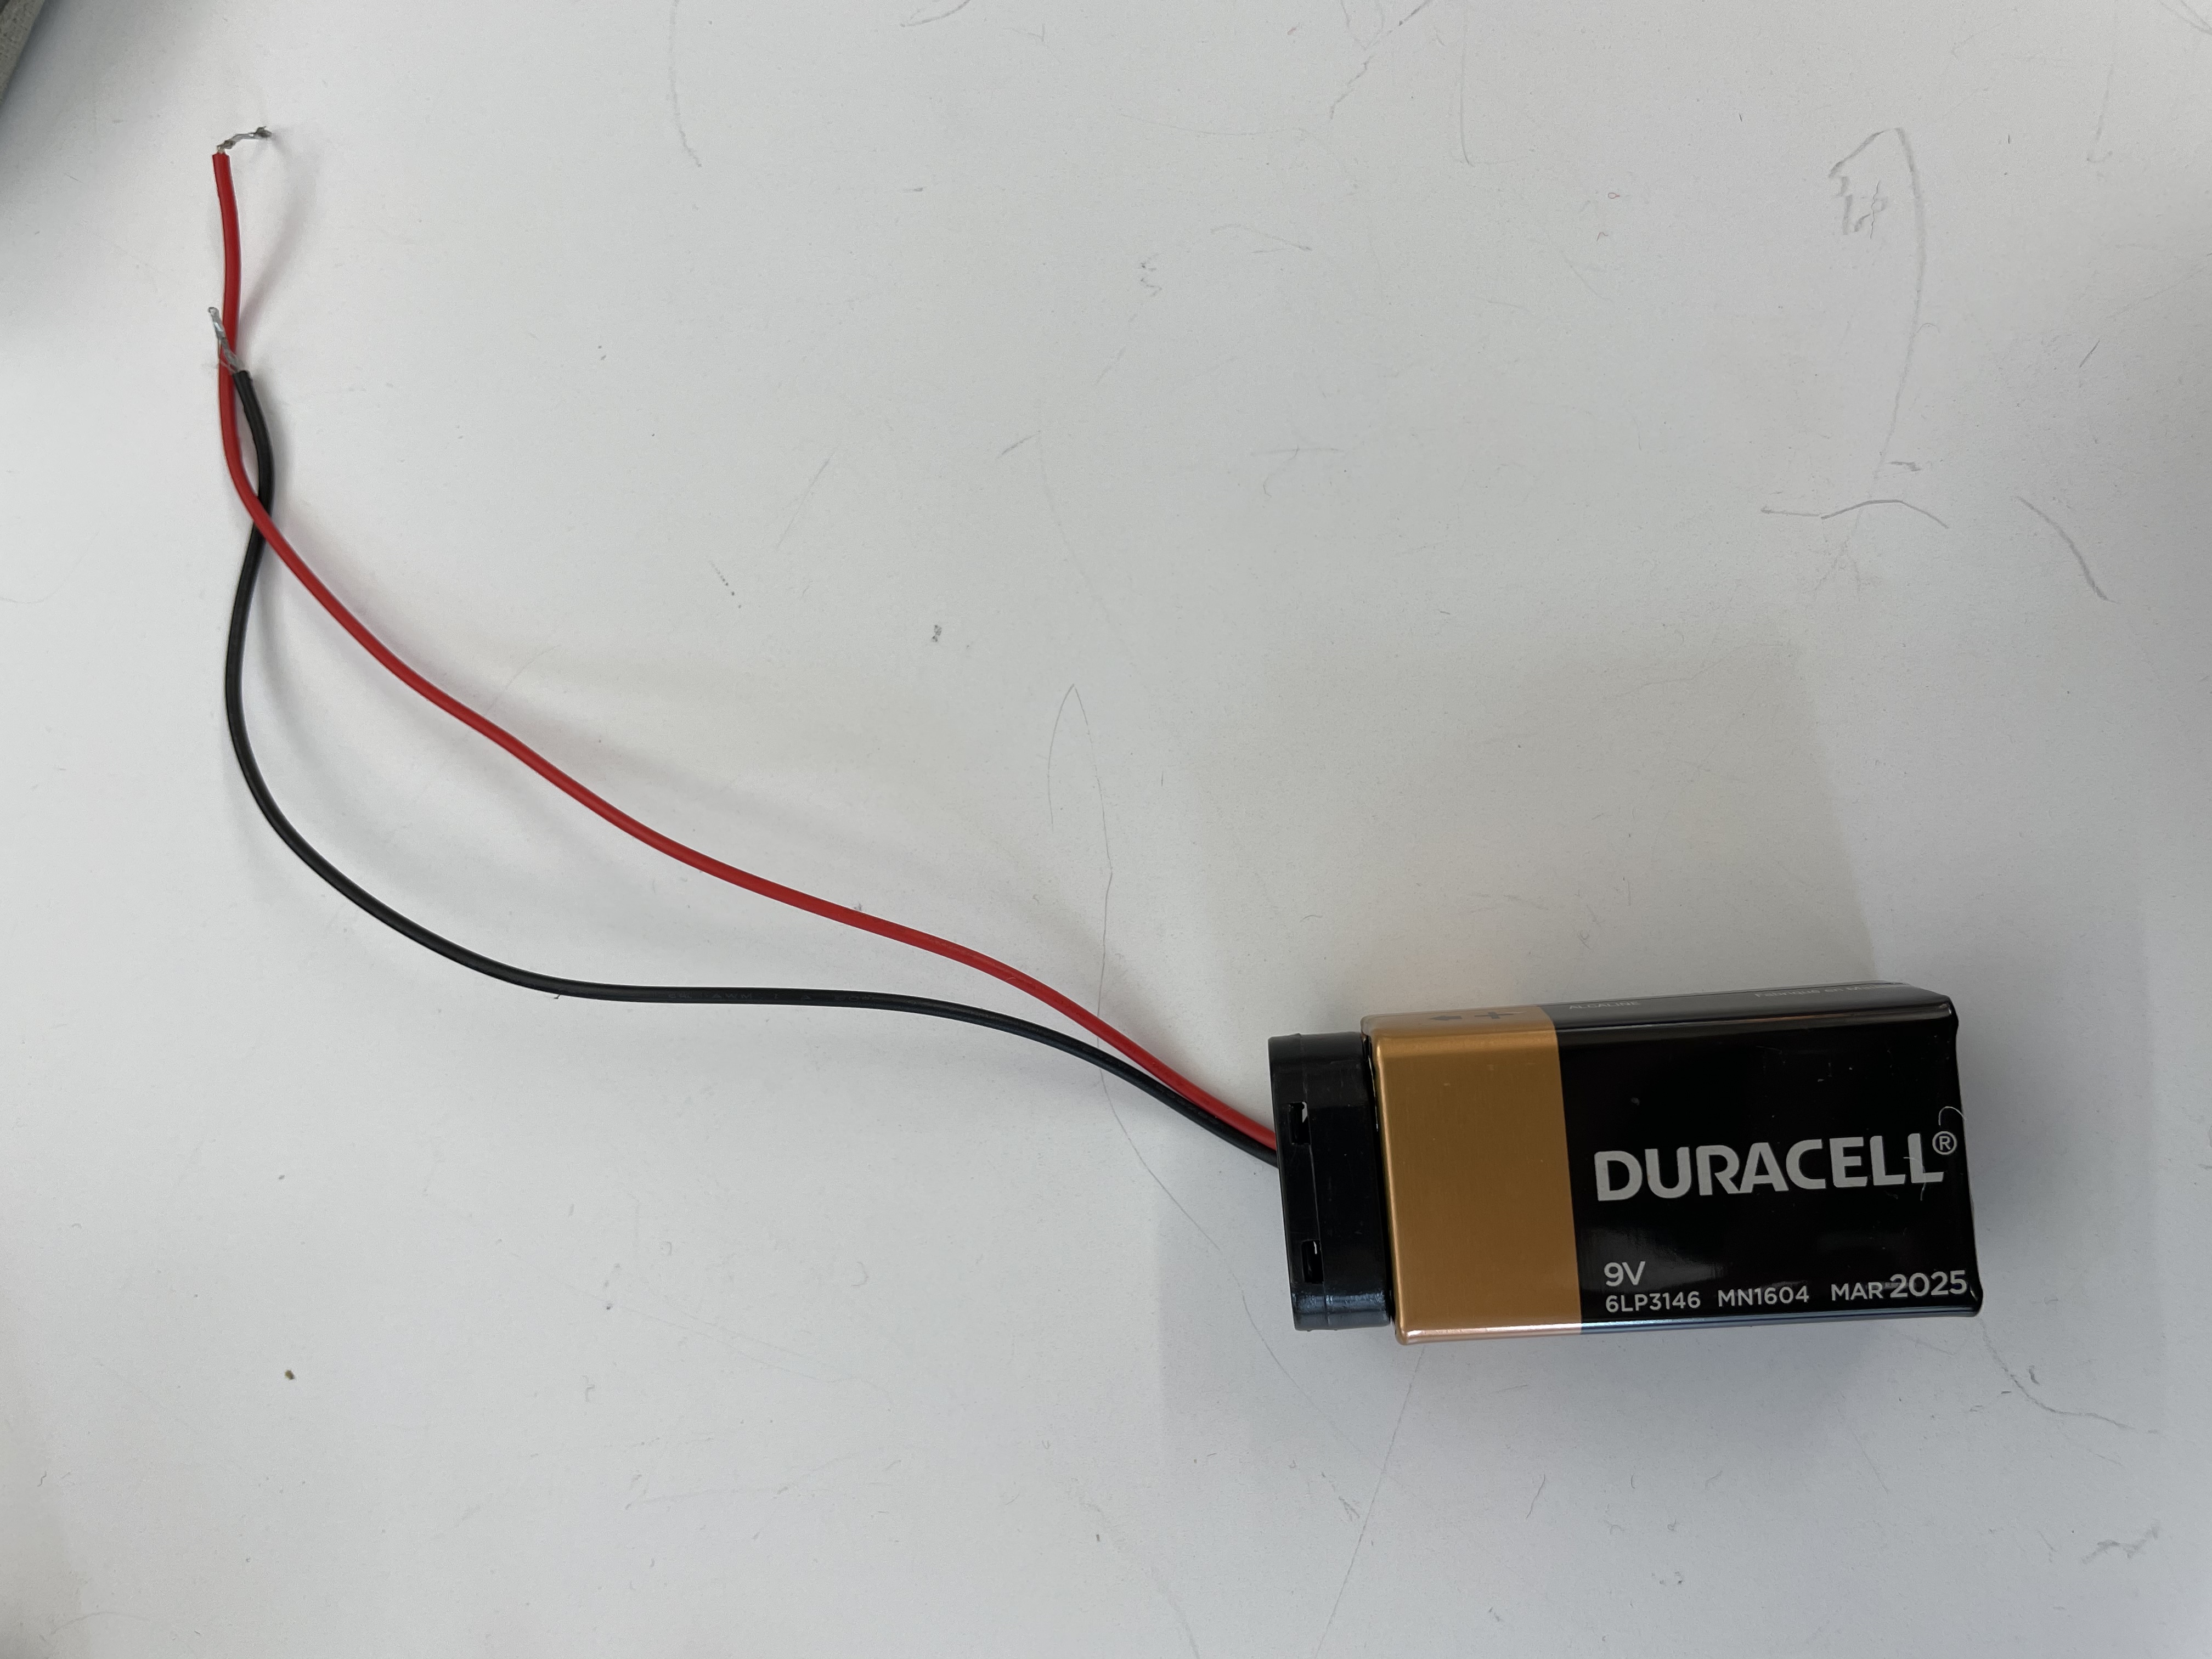
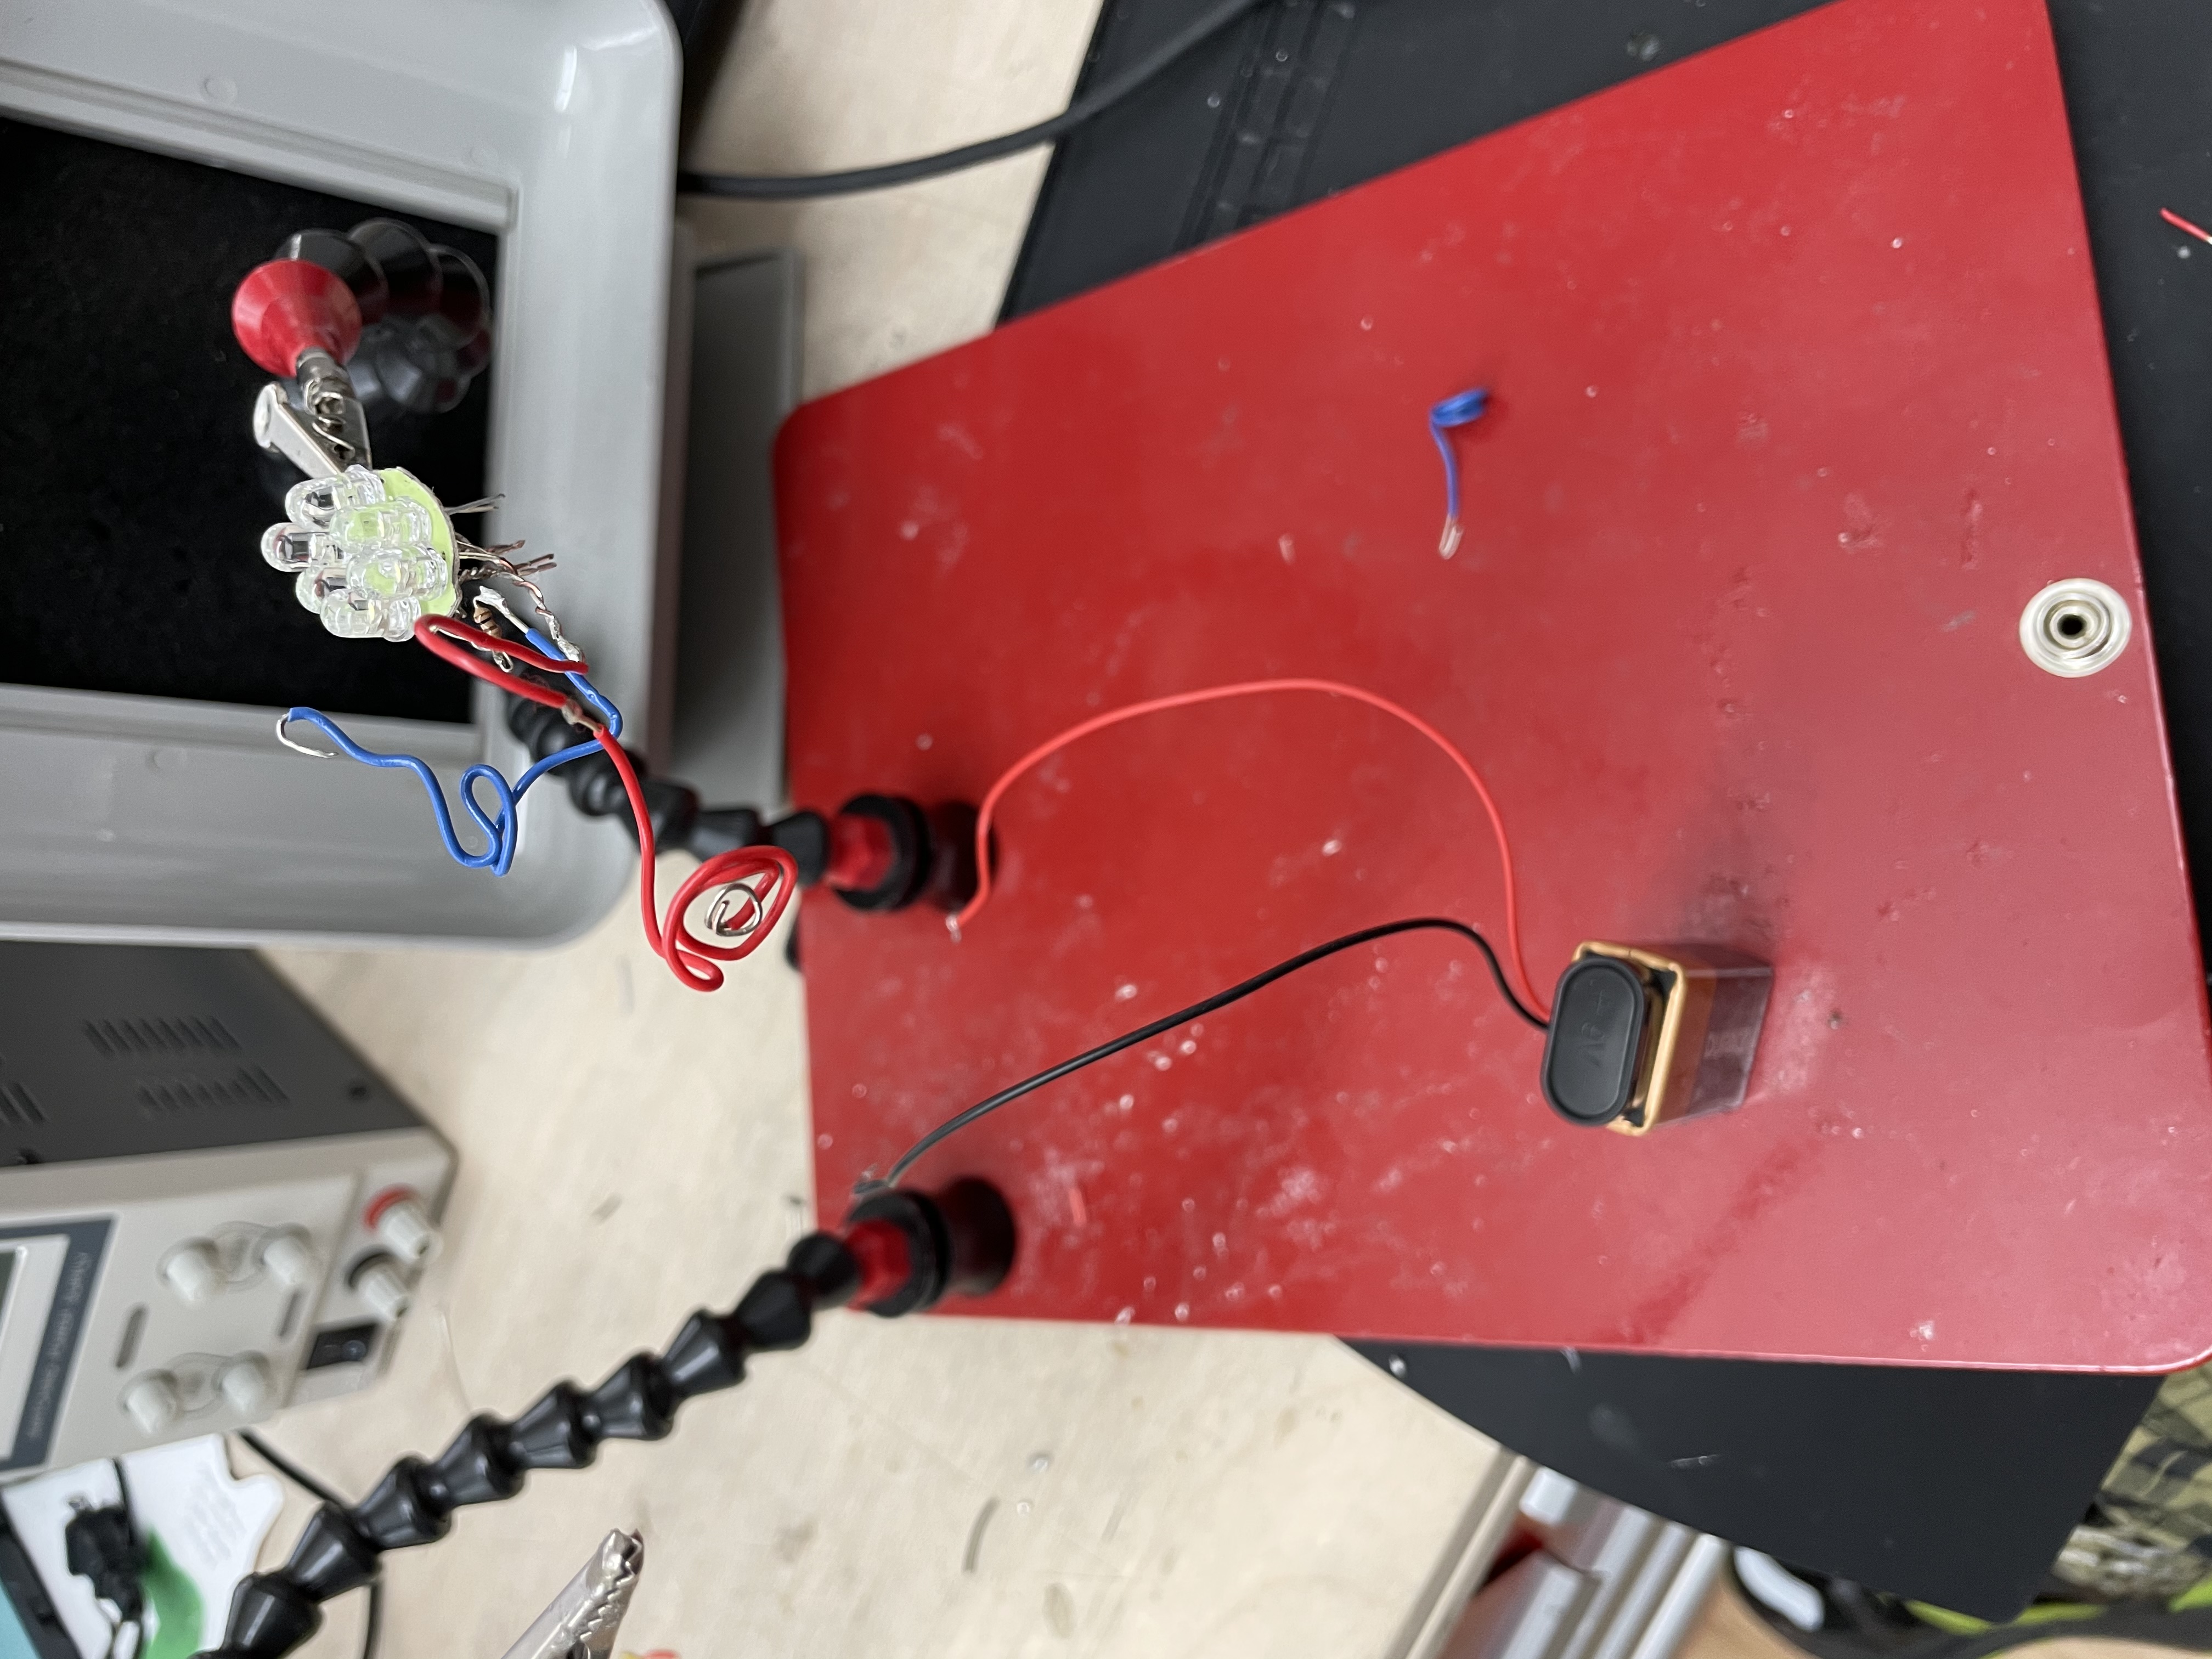
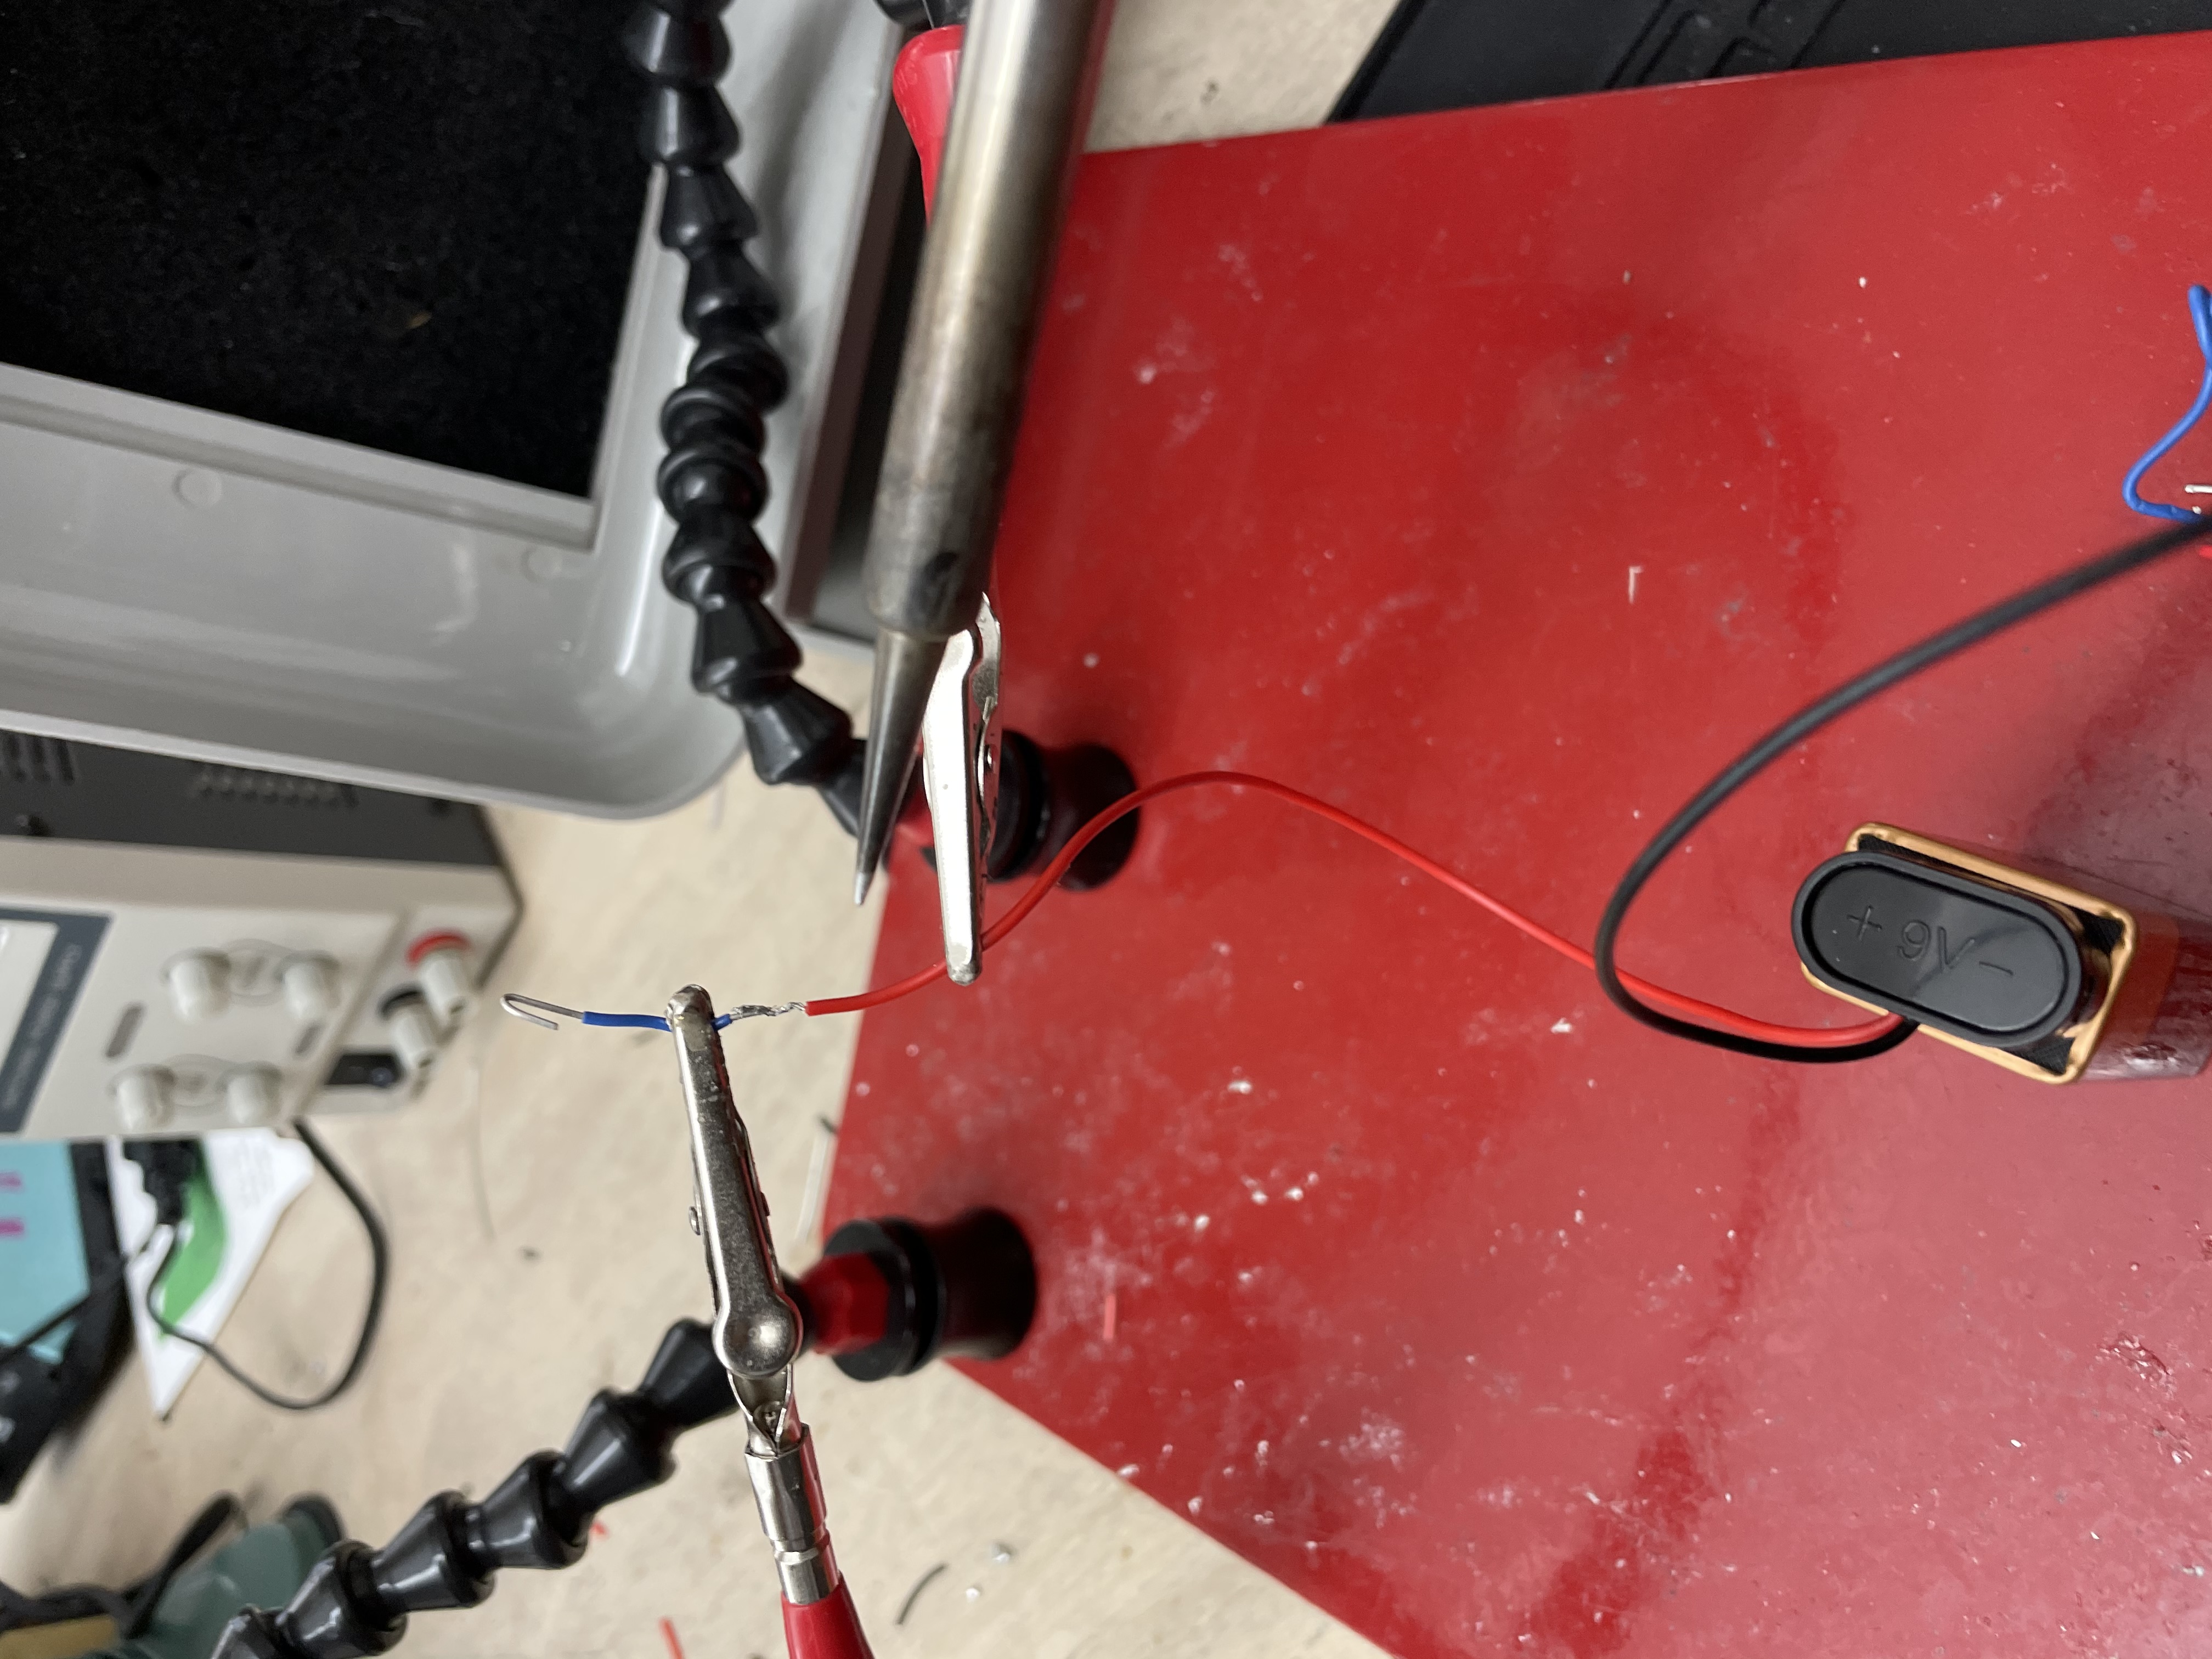
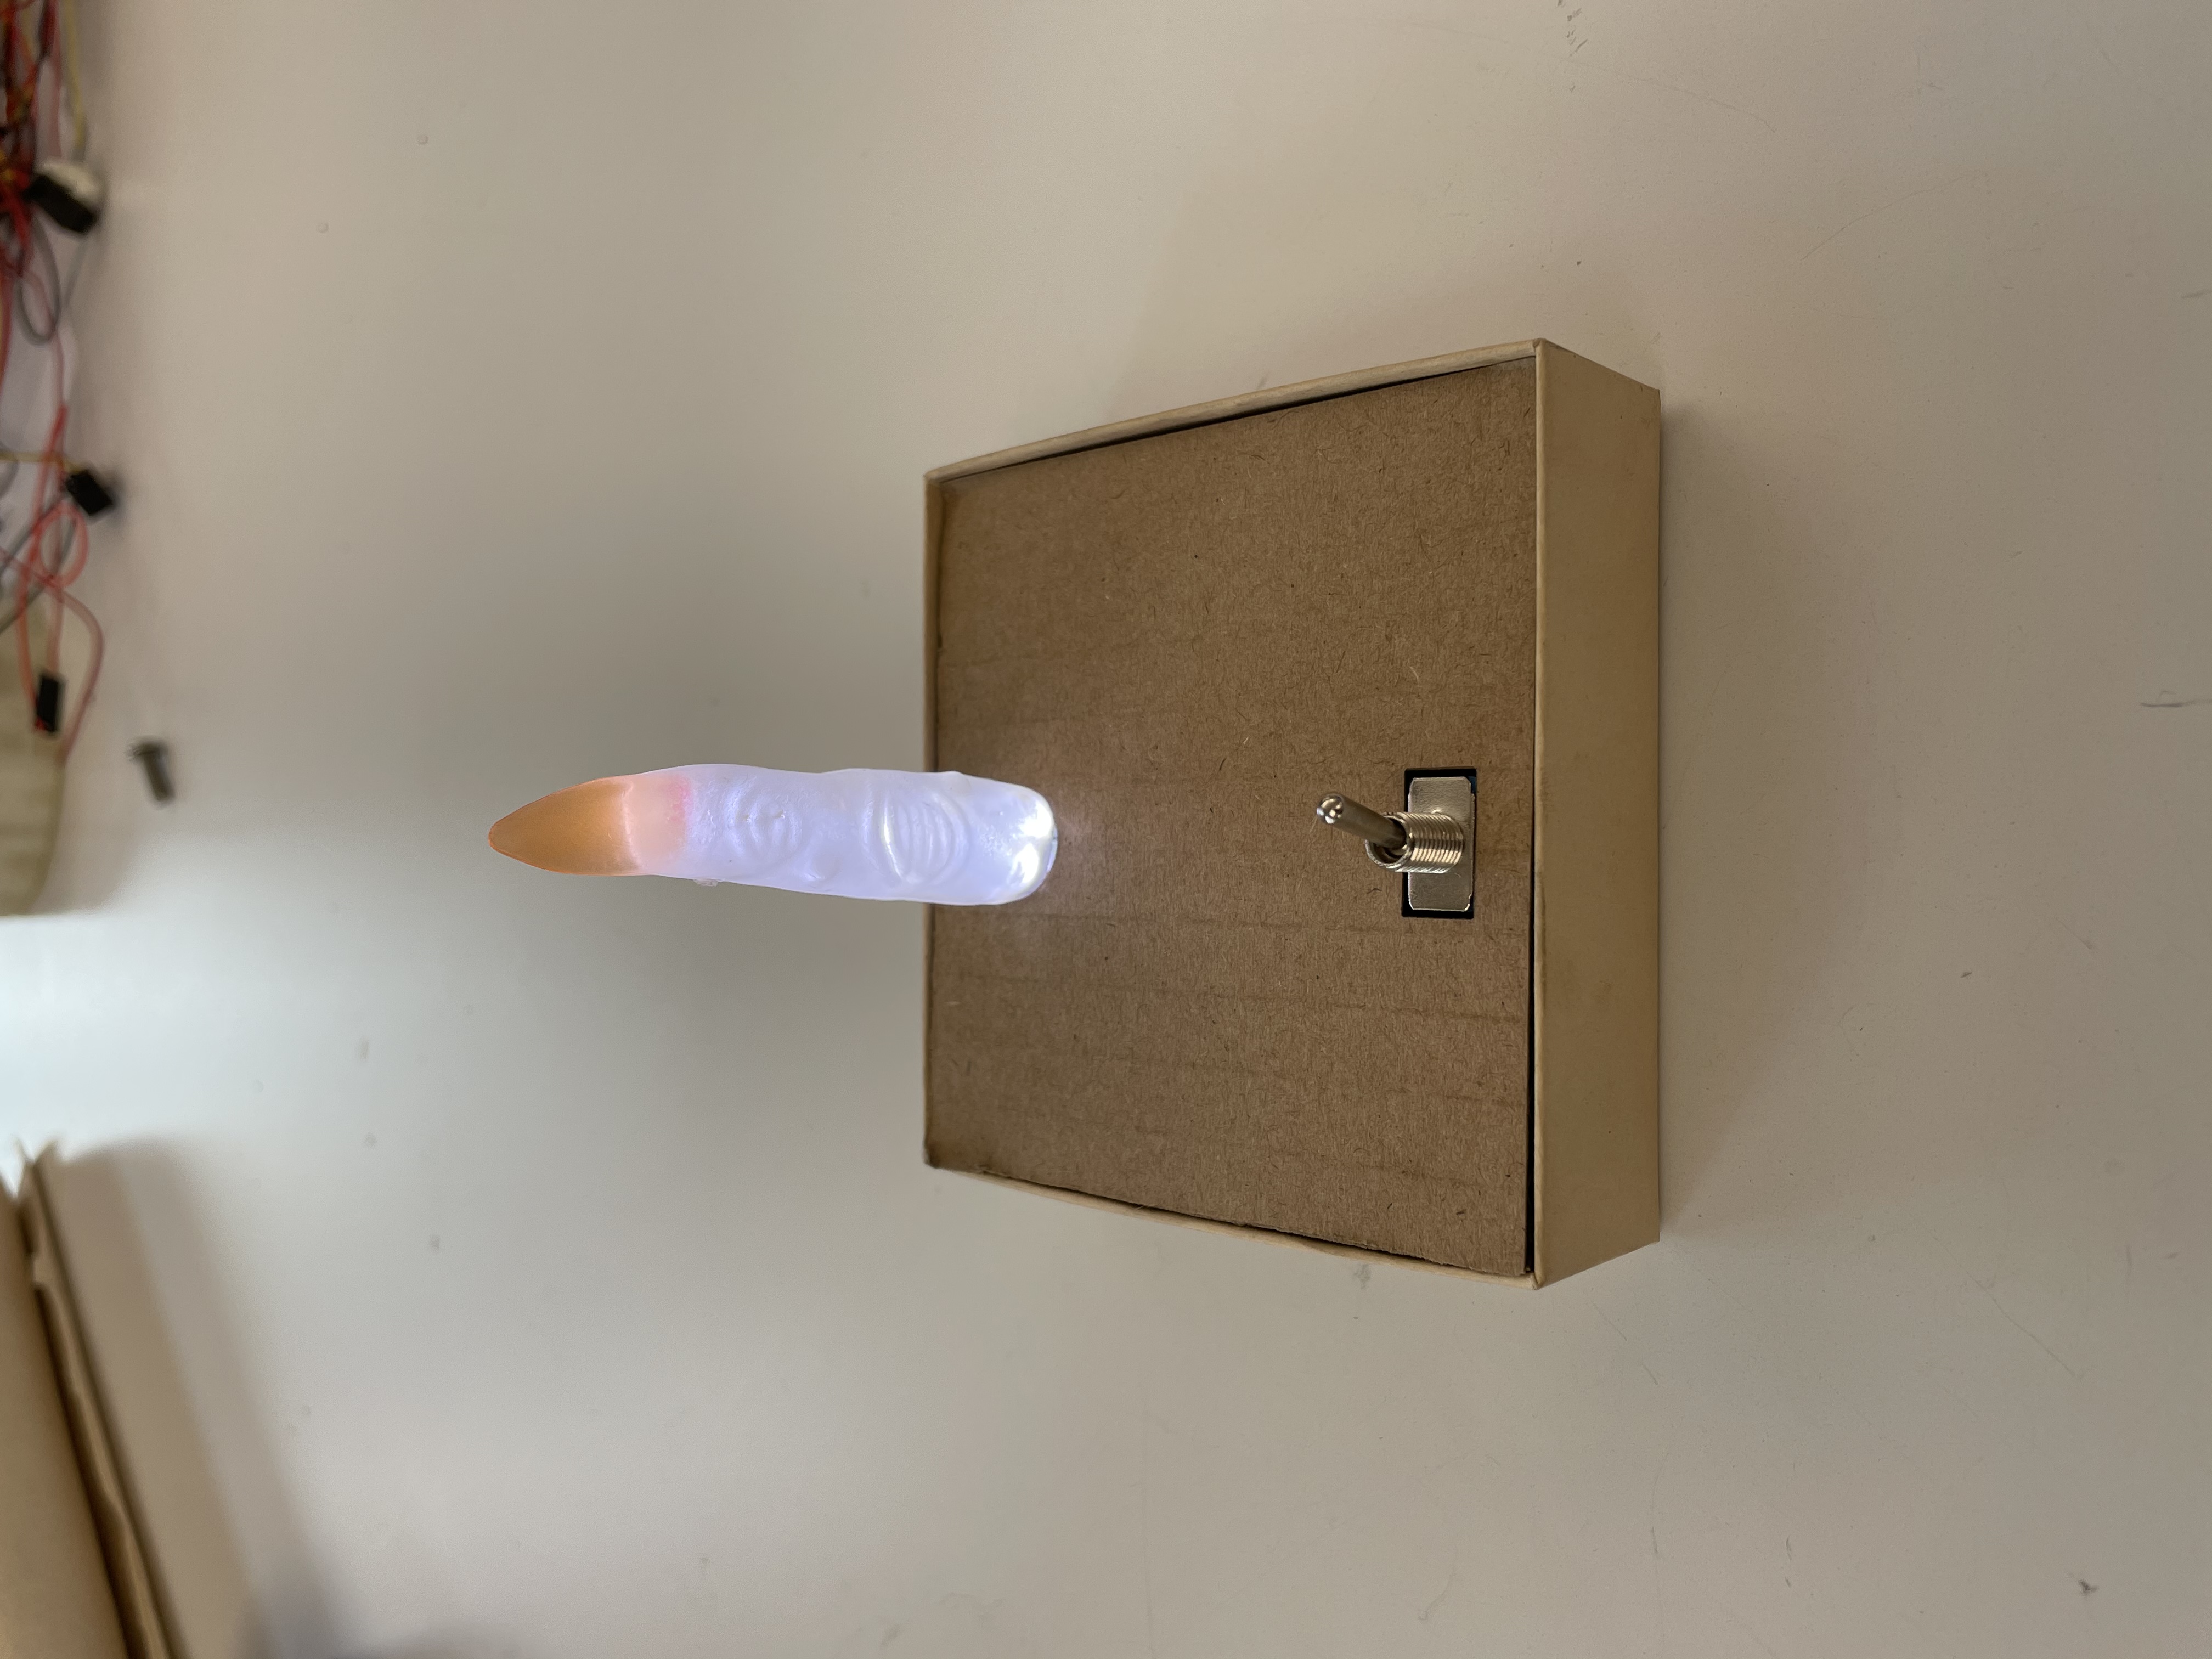
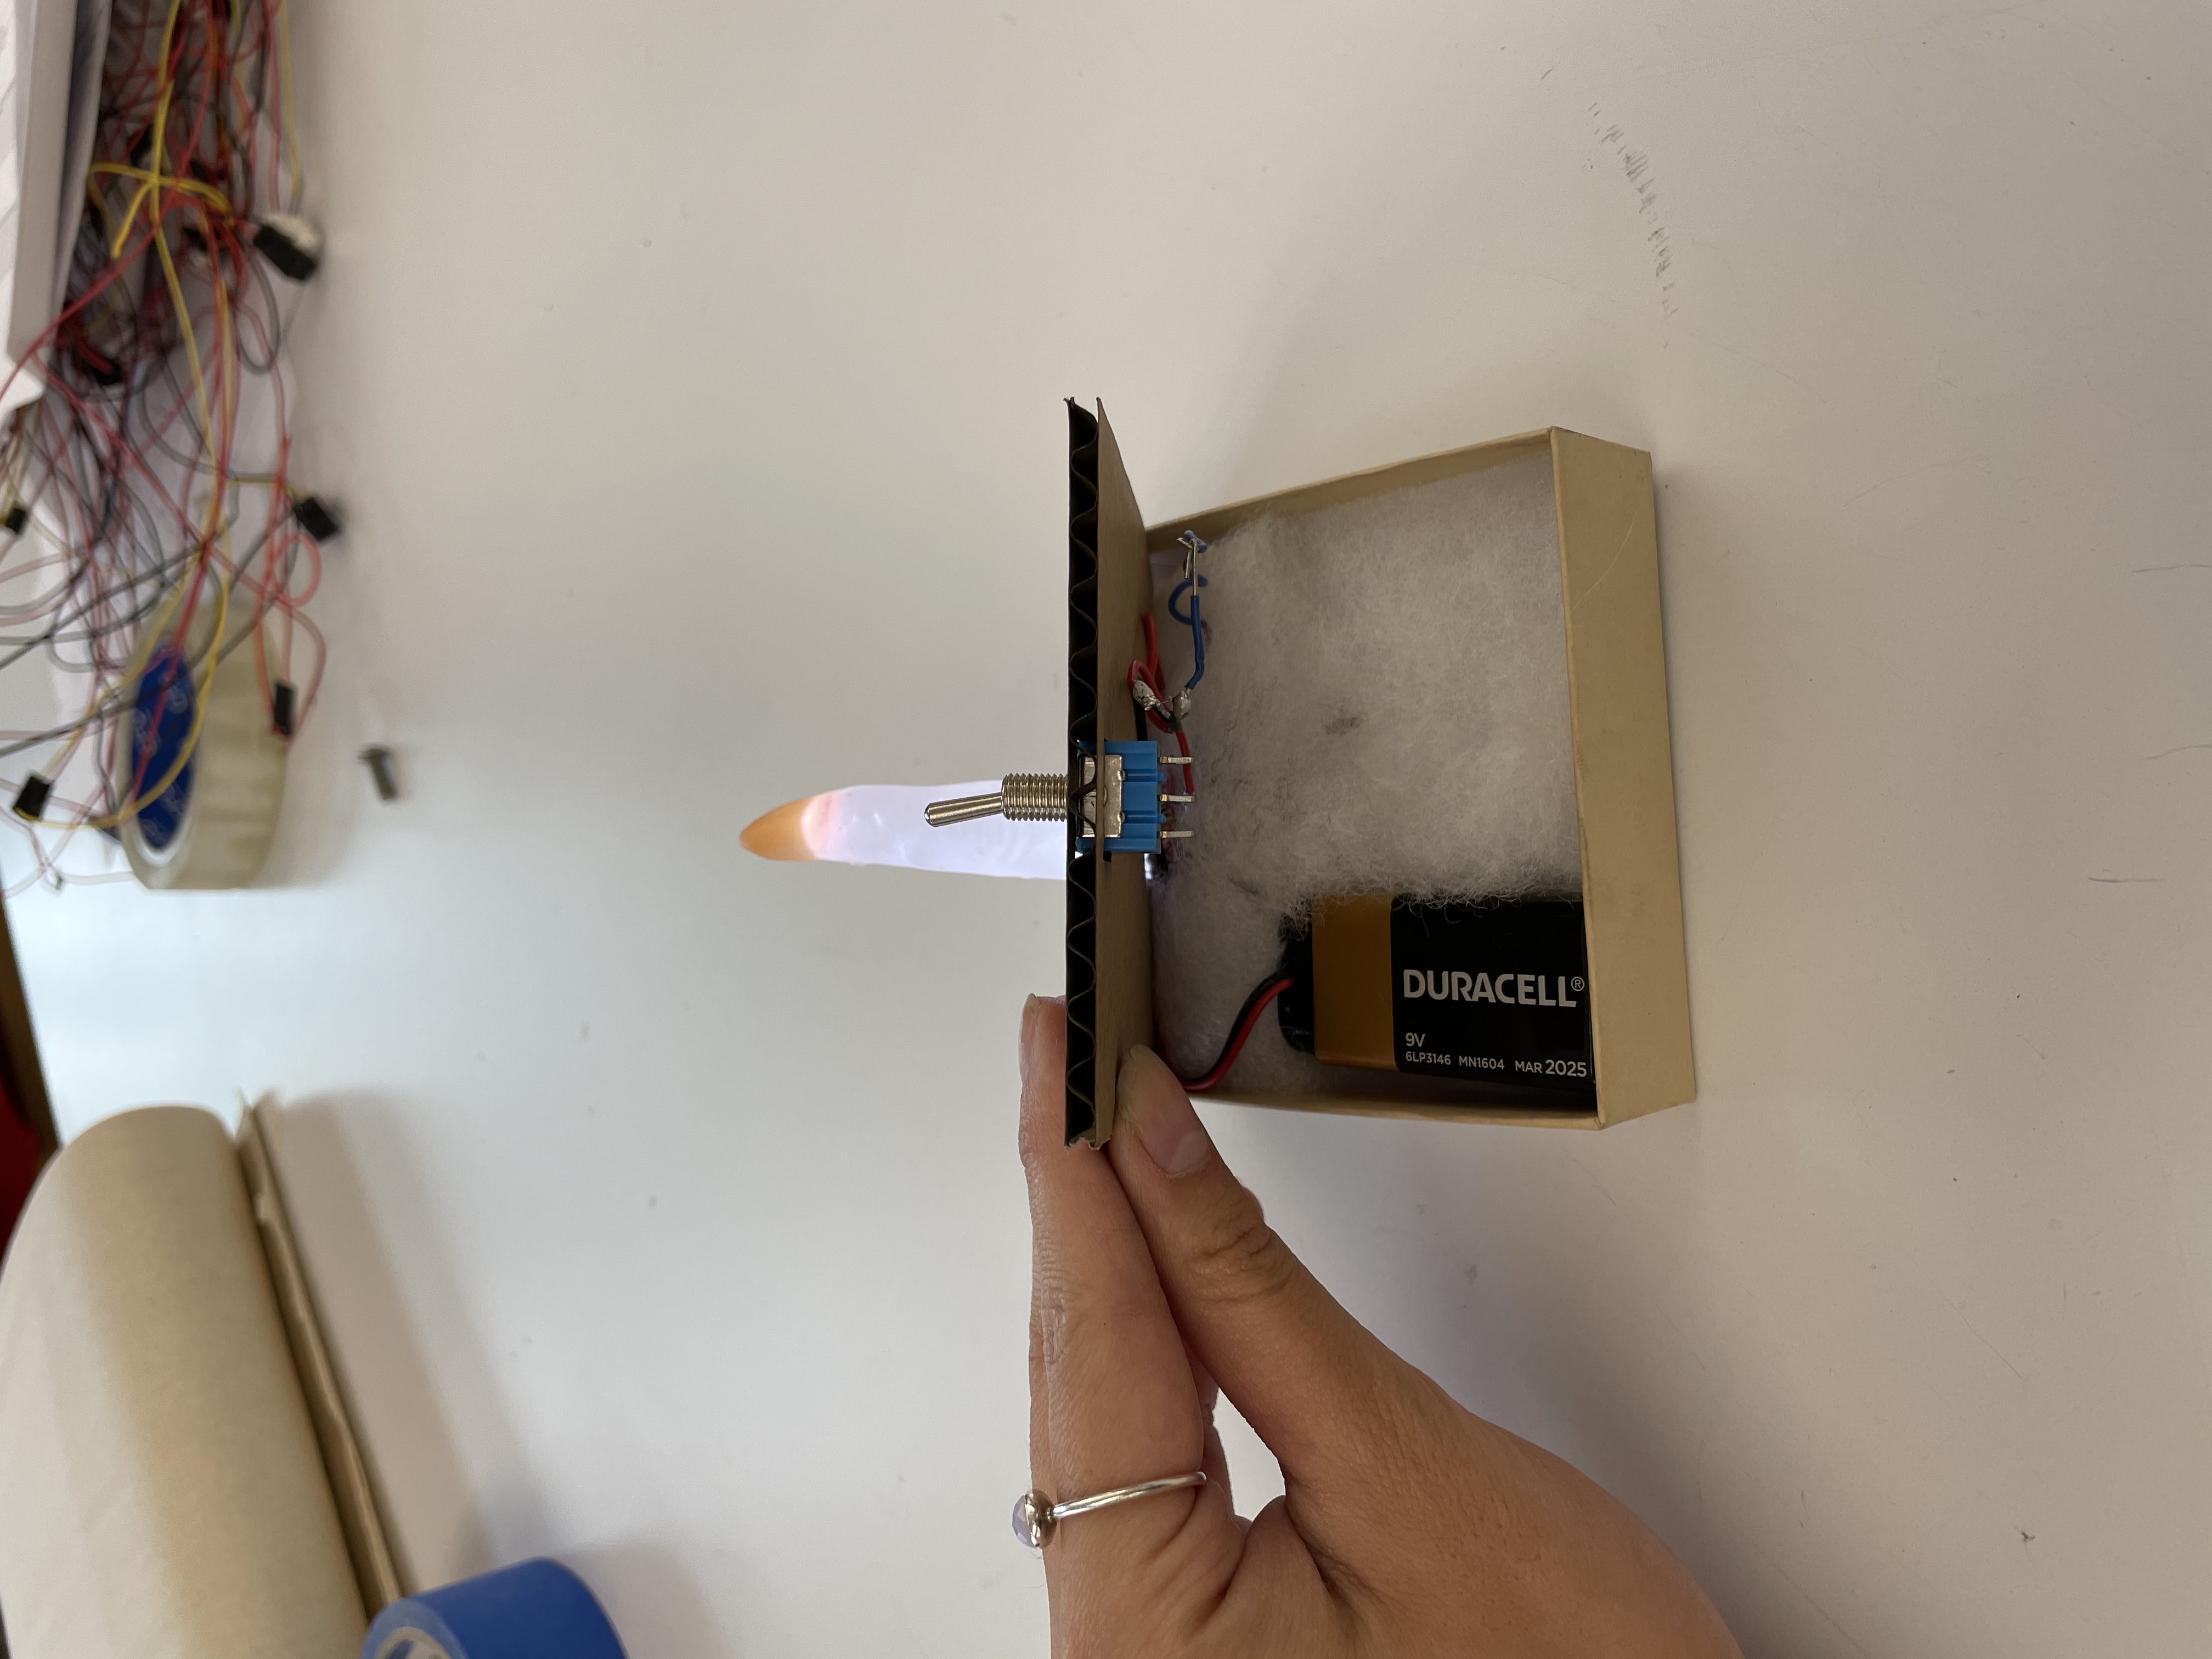
It was good that I had the working prototype so I used that instead. Then I went to improving my flashlight. I added a battery pack and resaudered
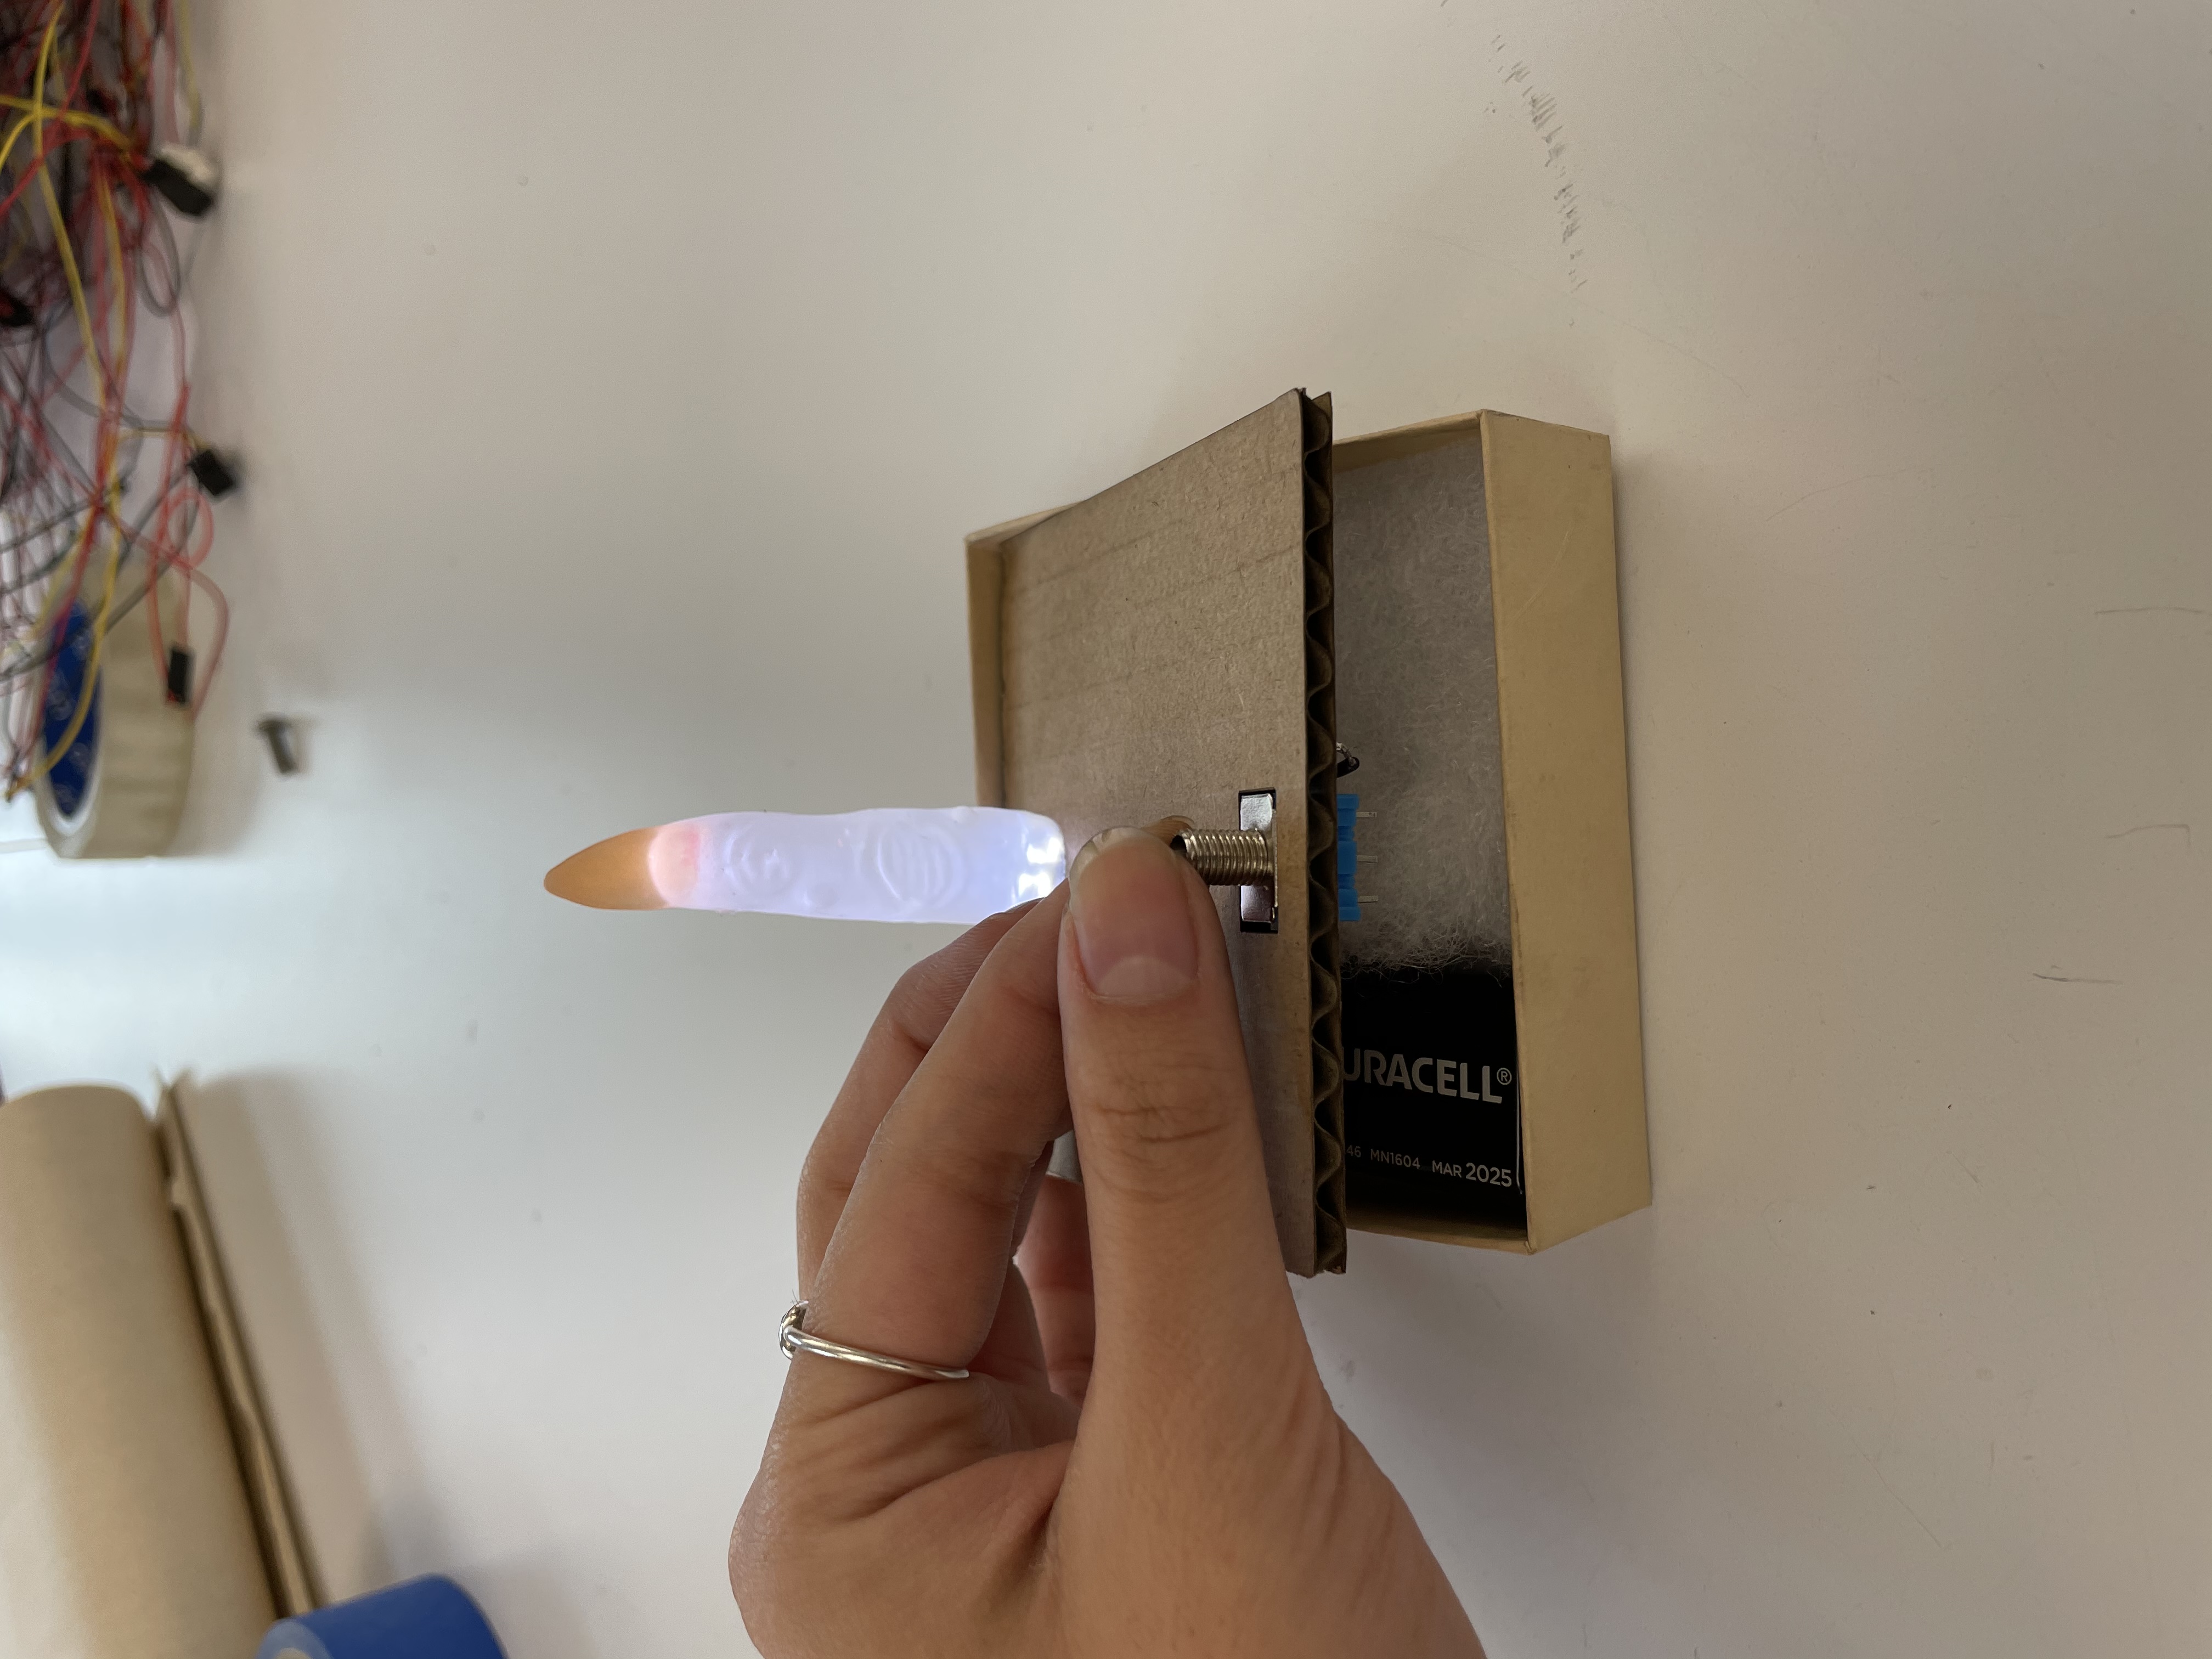
some of the wires. I still couldn't figure out how to get the switch to work, so I made a make shift one using wires. The switch ended up being
a lever to open up the inside of the lamp. Finally, I grabbed the cotton that was in the jewlery box and cut indents that would cushion the battery
and wires. Everything fit nicely.
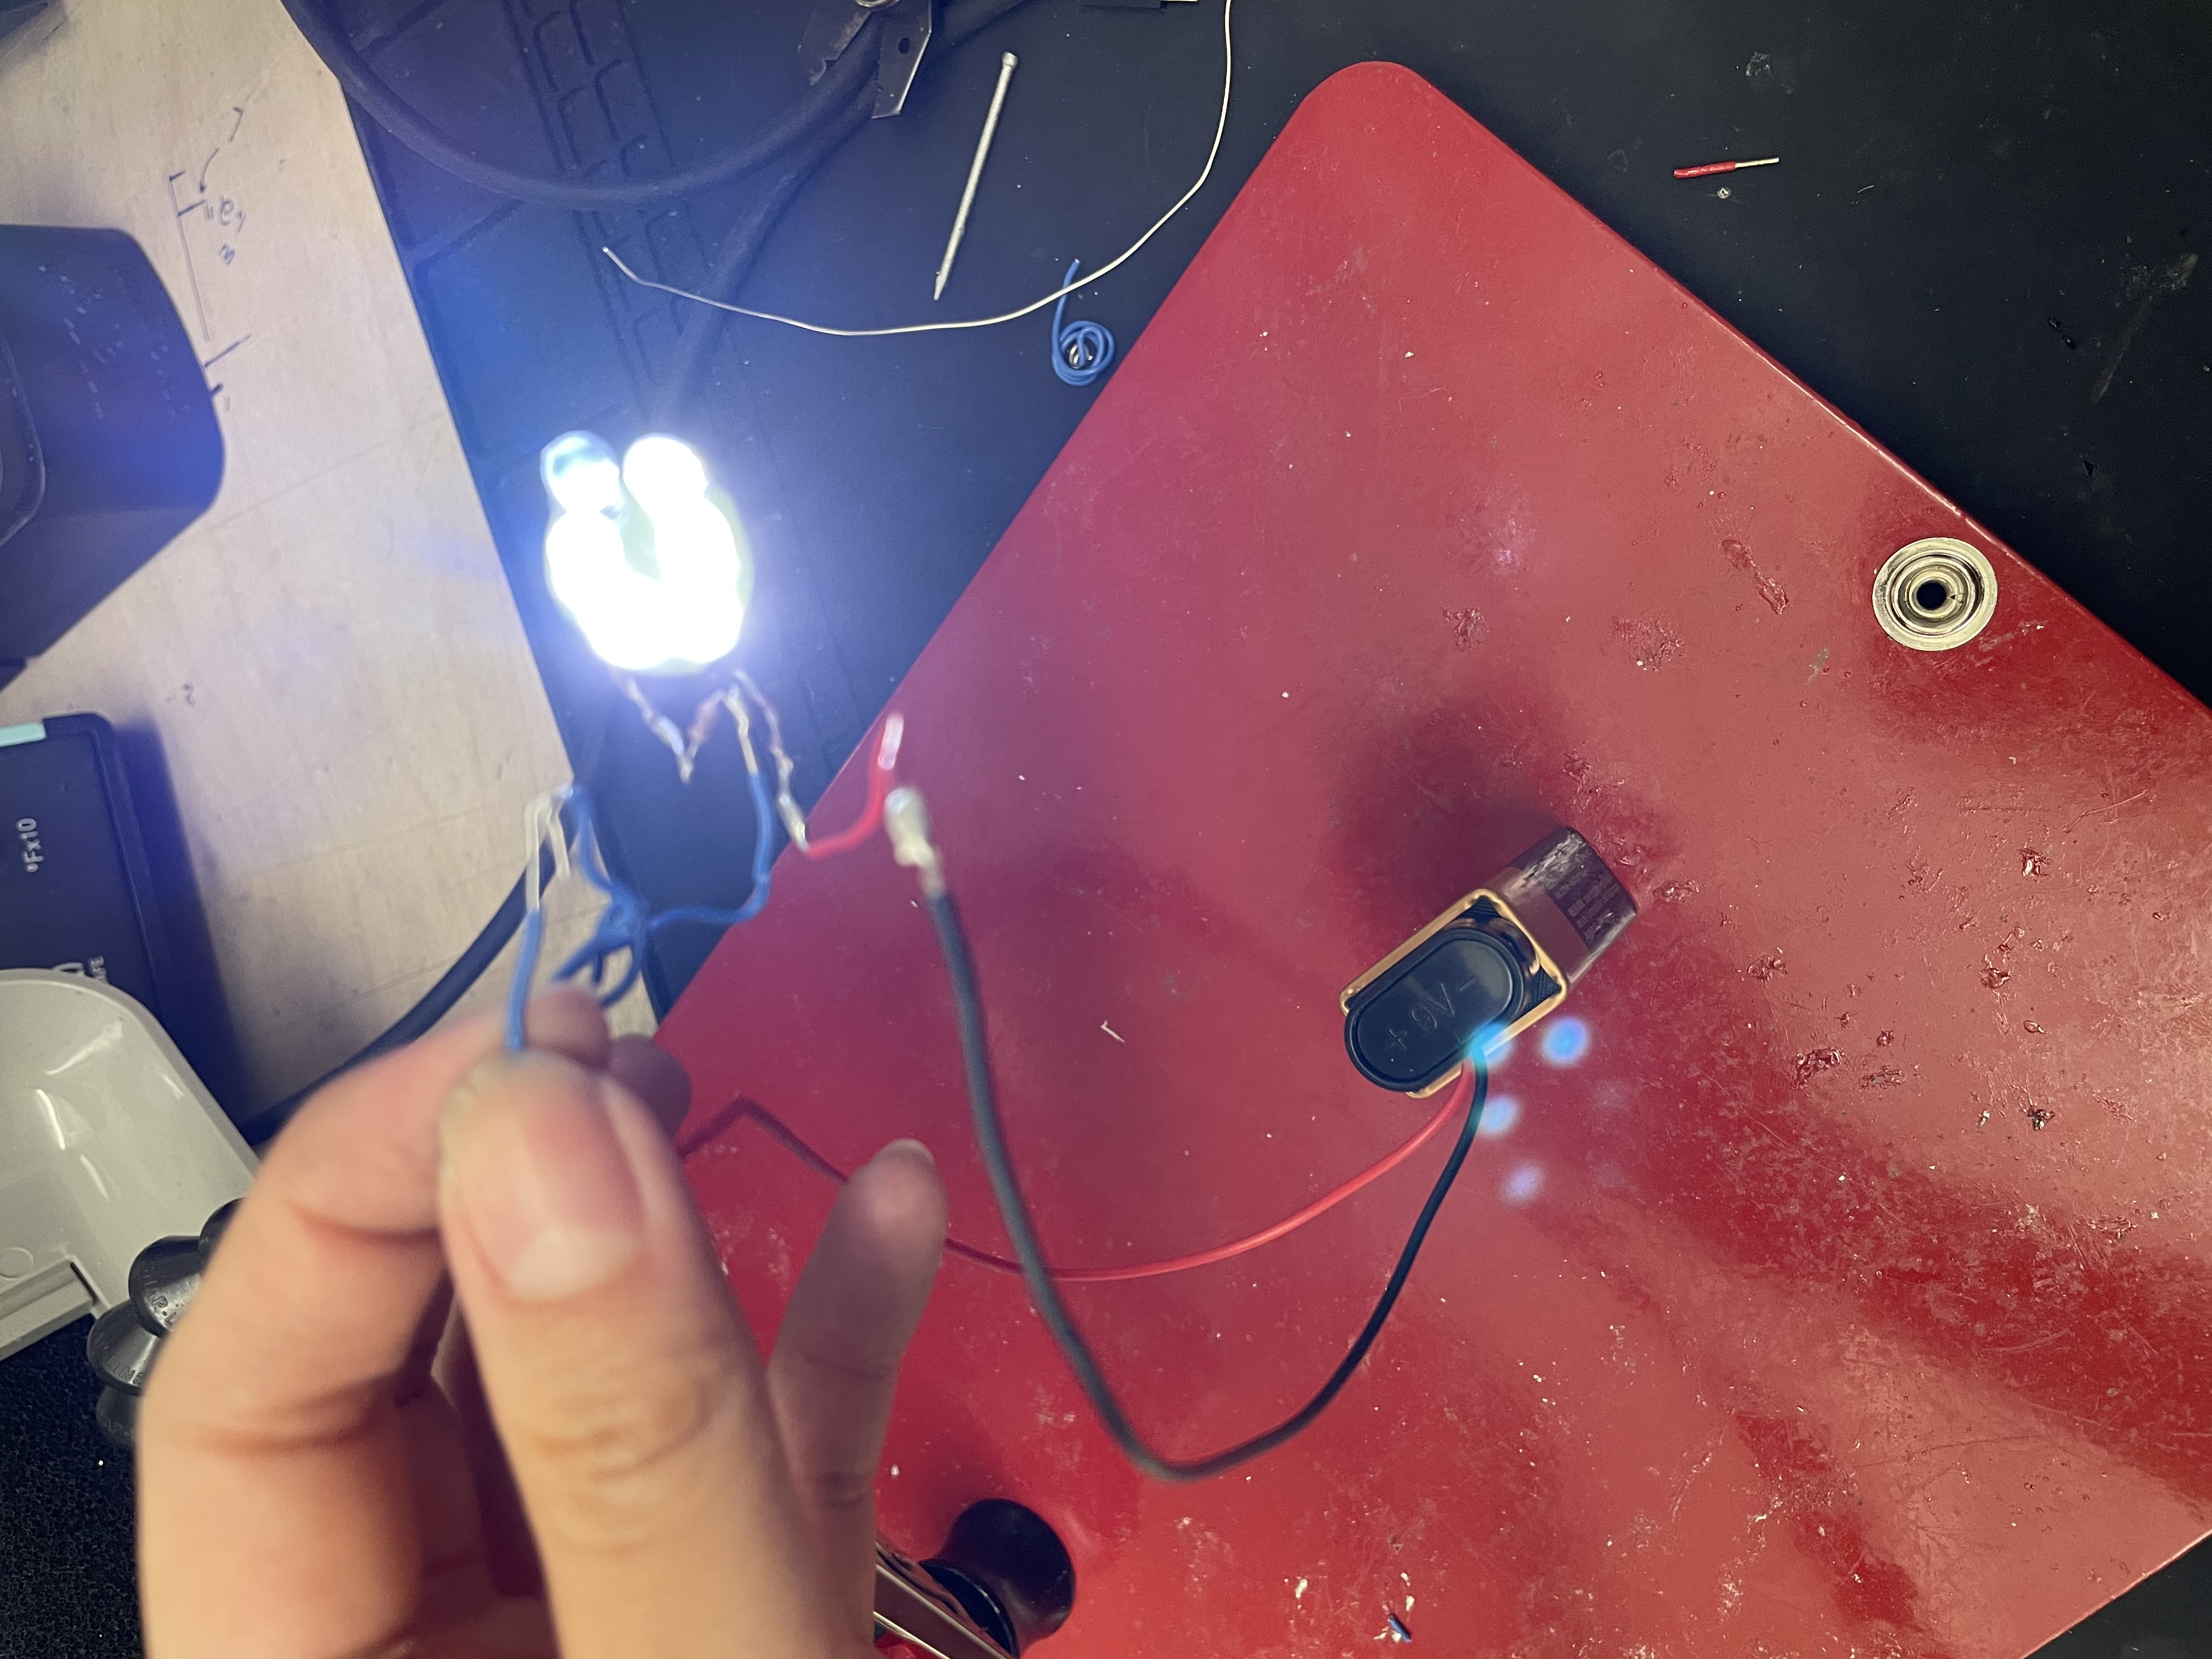
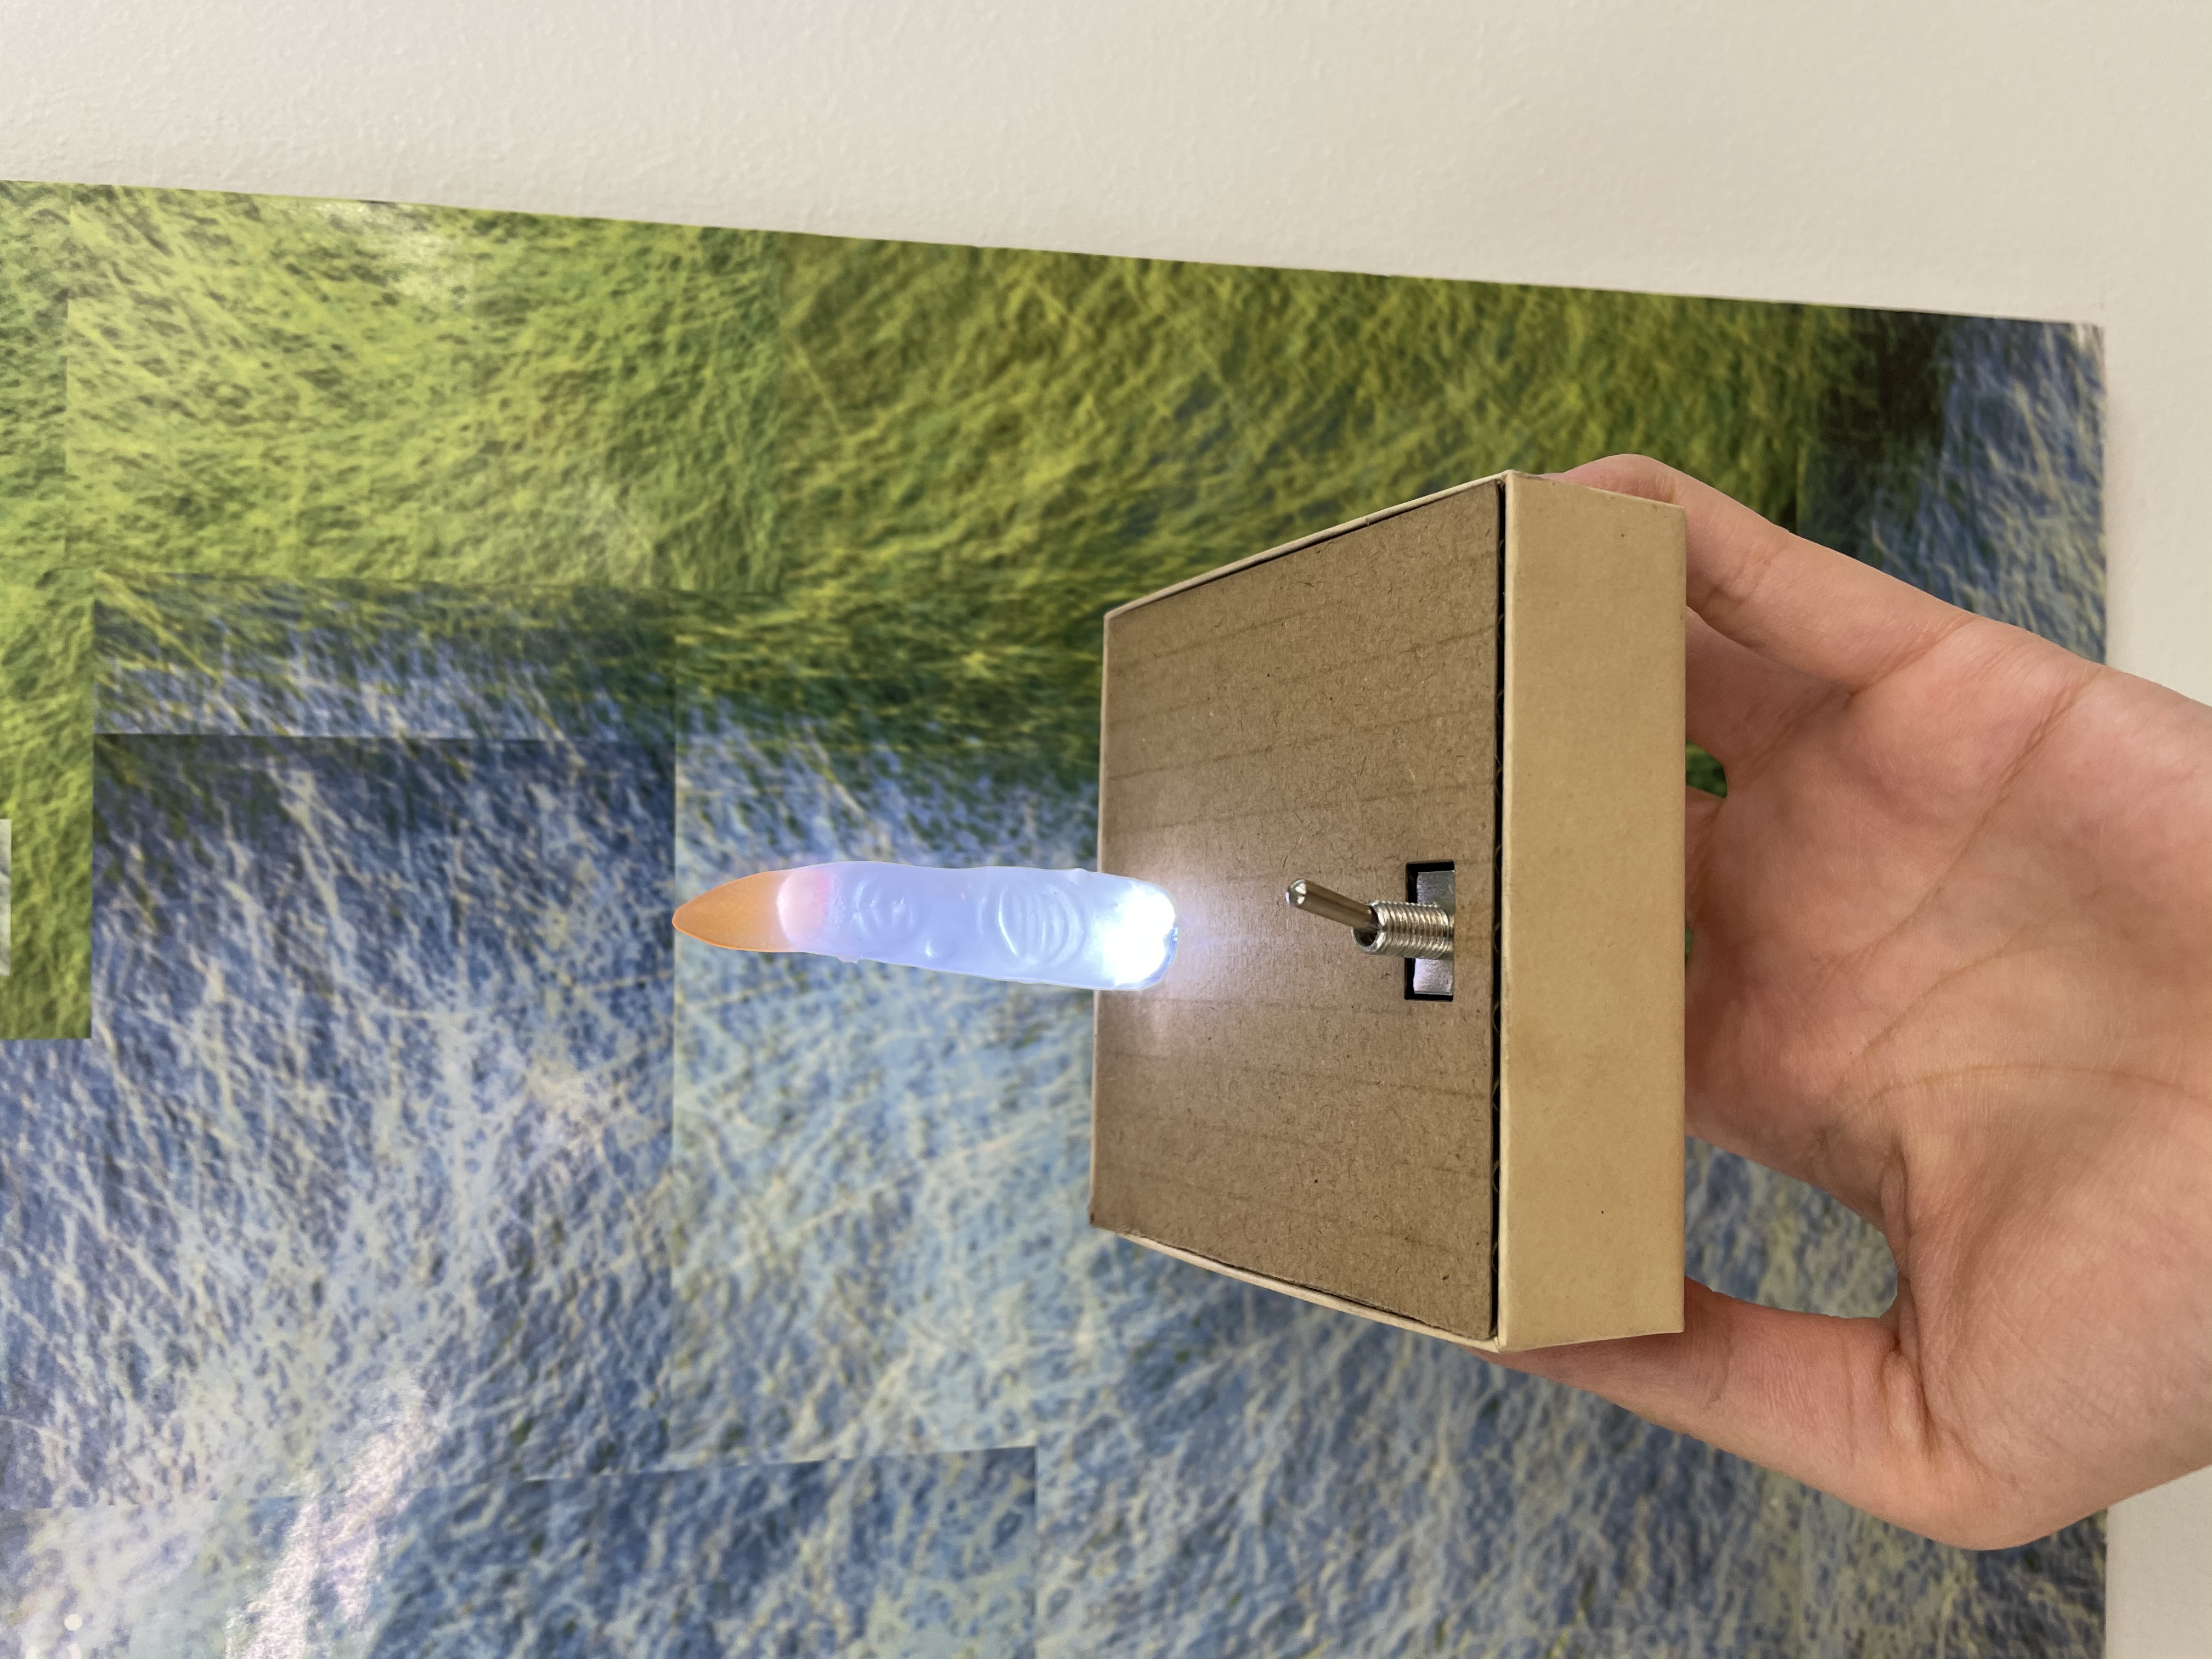
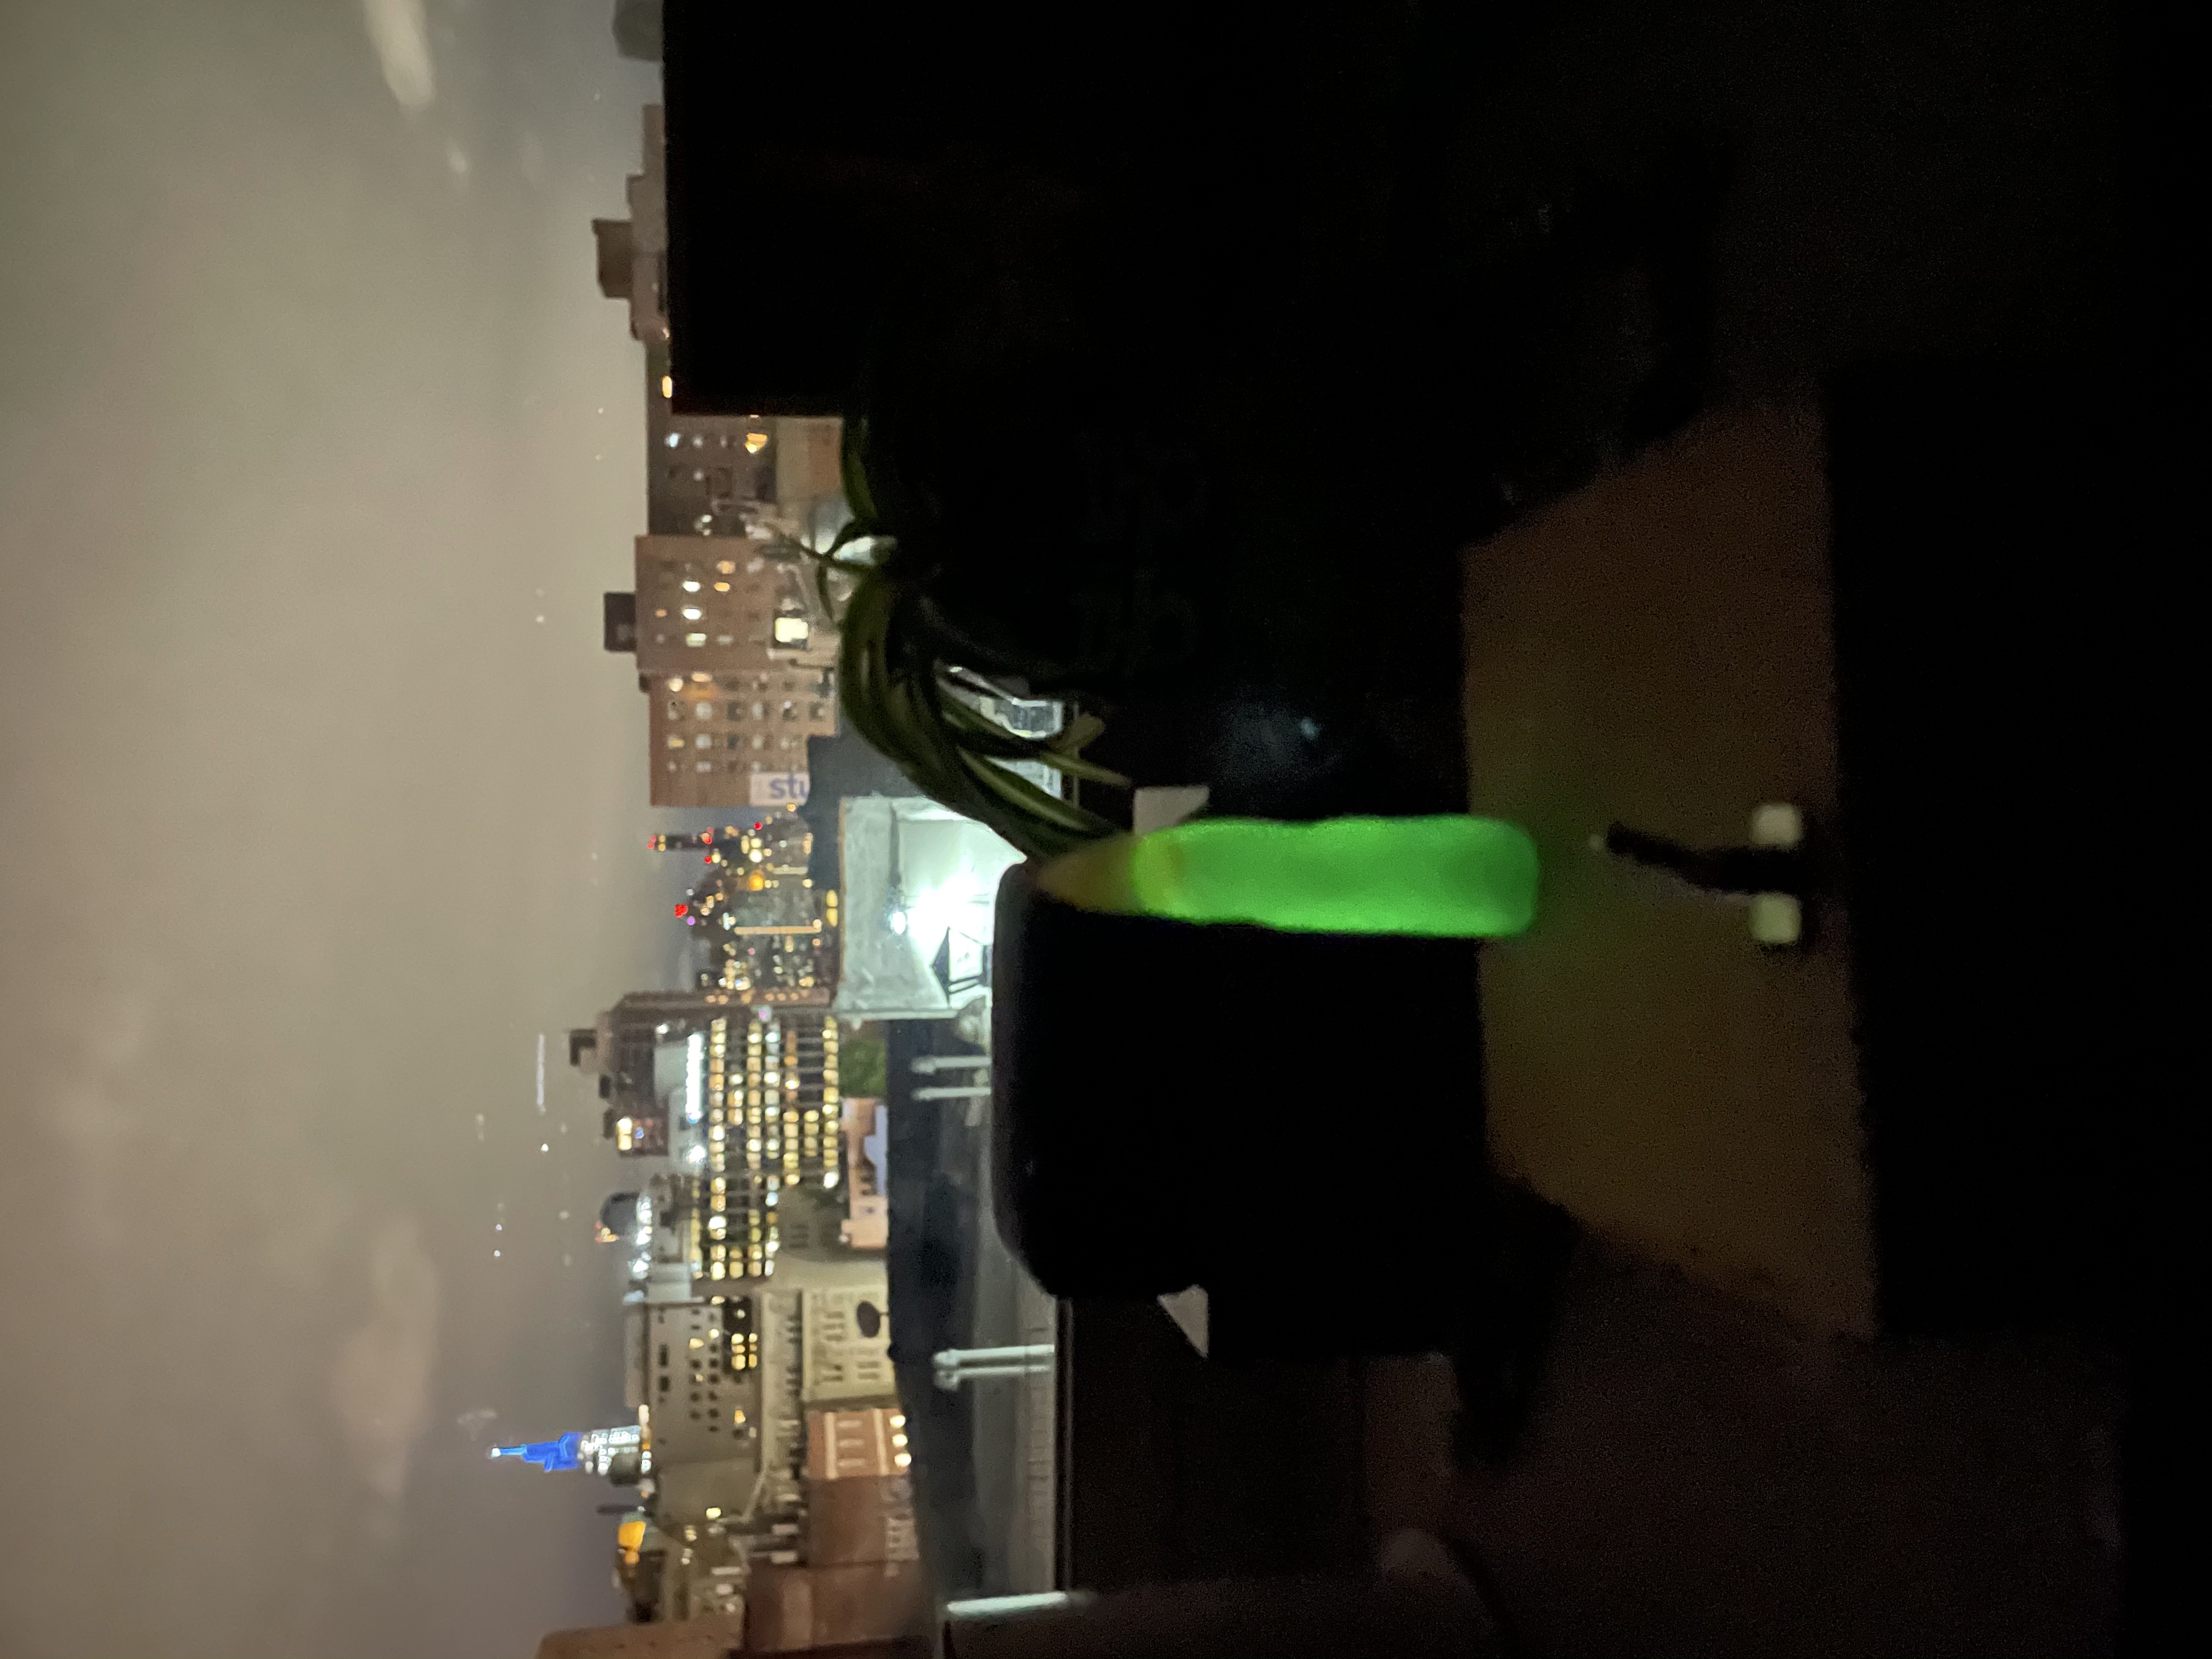
Another fun feature of the little finger lamp is that while the light is on, it "super-charges" the glow in the dark finger so that it glows brighter
for longer!